Greek Yogurt Cheesecake
On Sunday mornings, my kitchen turns into a beautiful mess. Flour dusts the counters while my three little ones scramble for the mixing spoons. As a mom, I constantly look for ways to make treats that feel special but also offer real nourishment.
I believe food is the ultimate love language. Recently, I discovered the magic of a Greek Yogurt Cheesecake. It started as an experiment to use up a large tub of yogurt in the fridge.
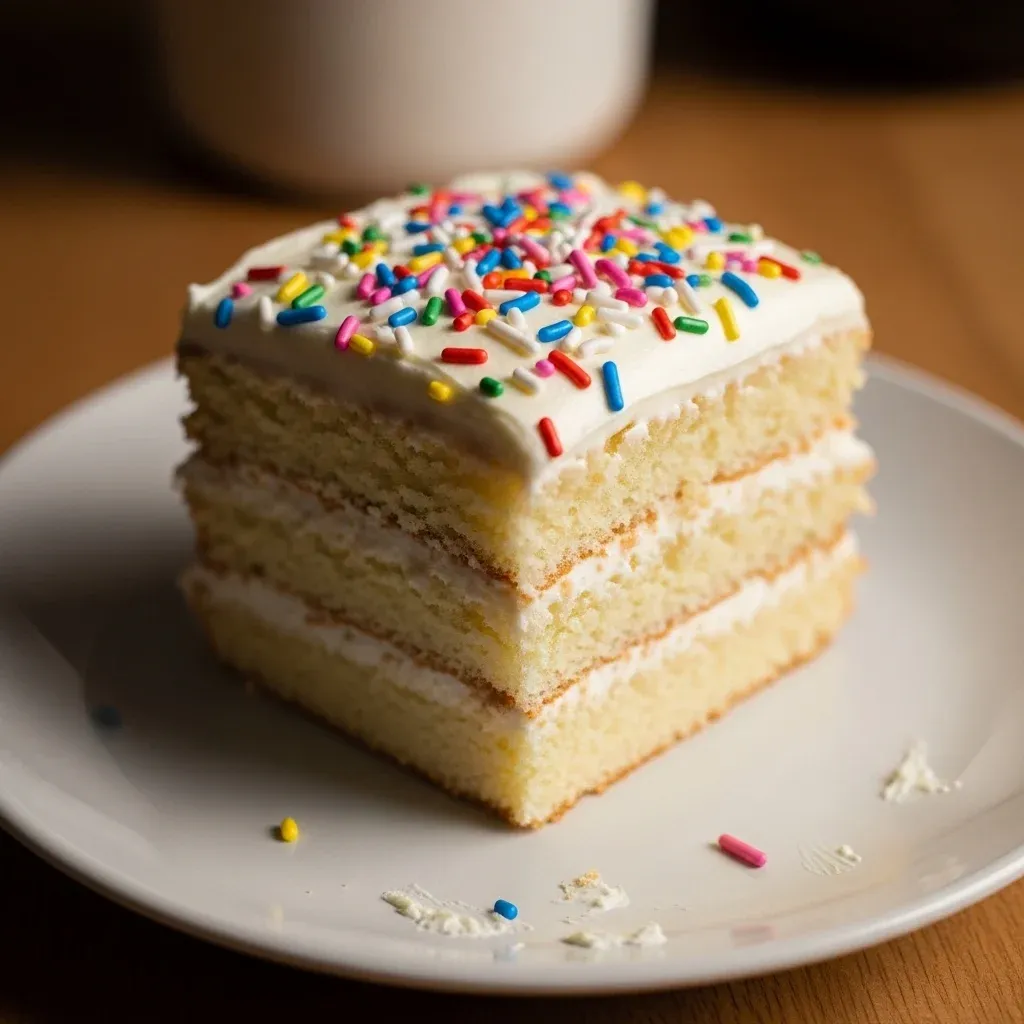
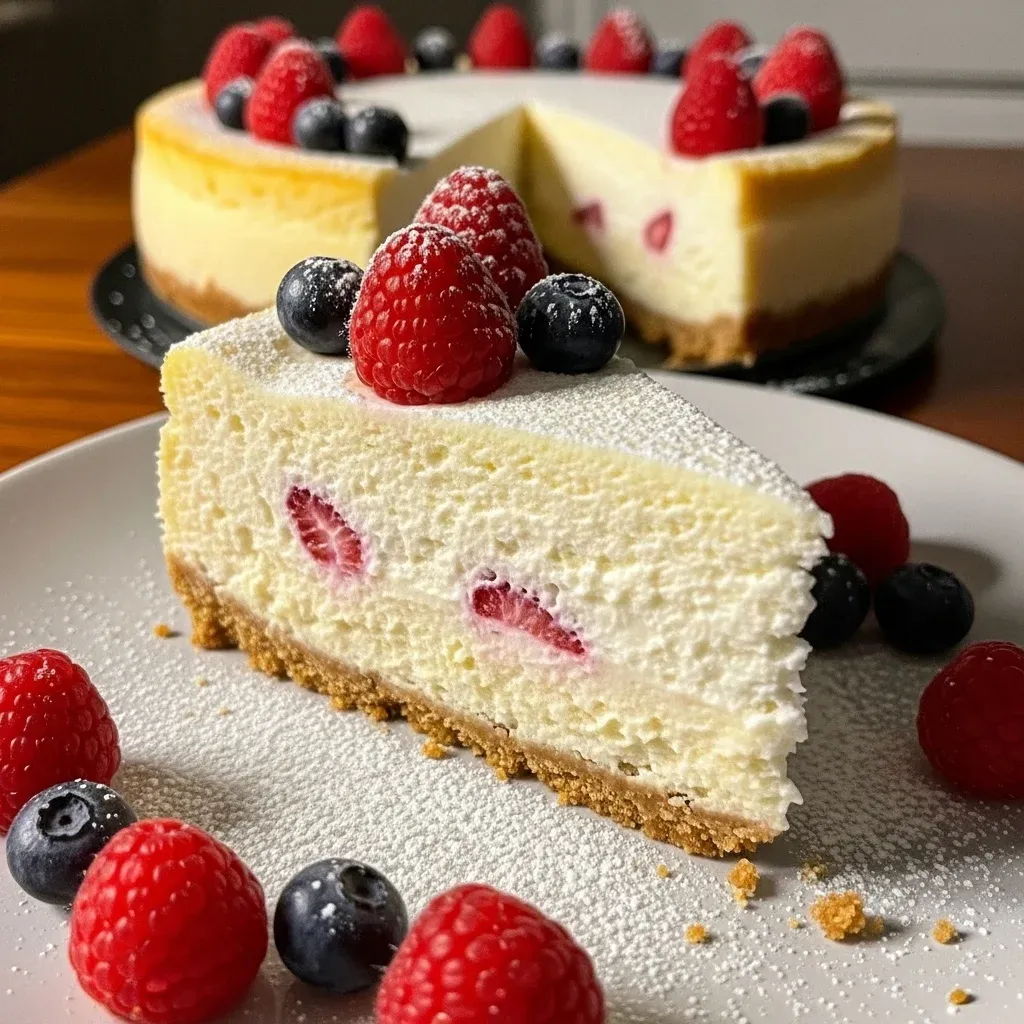
Now, it stands as the most requested dessert in our household. My middle child calls it the “cloud cake” because of its light and airy texture. Every bite carries a delicate tang that balances the sweetness perfectly.
You do not need to feel heavy after enjoying a slice of this Greek Yogurt Cheesecake. Instead, you feel satisfied and energized. This recipe represents my philosophy of simple ingredients coming together to create something extraordinary. Whether you celebrate a birthday or just a quiet Tuesday, this Greek Yogurt Cheesecake brings a sense of comfort to your table.
I remember the first time I pulled this Greek Yogurt Cheesecake out of the oven. The house smelled like warm vanilla and bright lemon zest. My husband walked in and couldn’t believe how beautiful it looked.
We sat down together once the kids were in bed and shared a slice. We realized then that you don’t need heavy cream or massive amounts of sugar to make a decadent dessert. This Greek Yogurt Cheesecake provides a creamy, silky experience that rivals any traditional recipe.
It is approachable for any home cook, regardless of skill level. Furthermore, it allows you to sneak in a bit of protein while satisfying your sweet tooth. This Greek Yogurt Cheesecake truly bridges the gap between a healthy snack and a luxury dessert. I am so excited to share this family favorite with you today.
Why You’ll Love This Greek Yogurt Cheesecake Recipe
You will absolutely adore this Greek Yogurt Cheesecake for several reasons. First, it offers a much lighter profile than the standard New York-style versions. Most traditional recipes rely heavily on multiple blocks of full-fat cream cheese.
This Greek Yogurt Cheesecake swaps a significant portion of that for protein-packed Greek yogurt. Consequently, the texture becomes much fluffier and less dense. You will find that the natural acidity of the yogurt cuts through the richness beautifully. This creates a refreshing flavor profile that keeps you coming back for another forkful.
Secondly, this Greek Yogurt Cheesecake is incredibly easy to prepare. You do not need a fancy water bath or complicated techniques to achieve success. I designed this recipe for busy parents who want high-quality results without spending hours in the kitchen.
Moreover, the ingredients are likely already in your pantry or fridge. You can customize the sweetness level to your preference, making it a versatile choice for any palate. This Greek Yogurt Cheesecake also stores wonderfully, making it an excellent make-ahead dessert for parties or family gatherings. Finally, it provides a nourishing alternative that you can feel good about serving to your children.
Ingredients You’ll Need
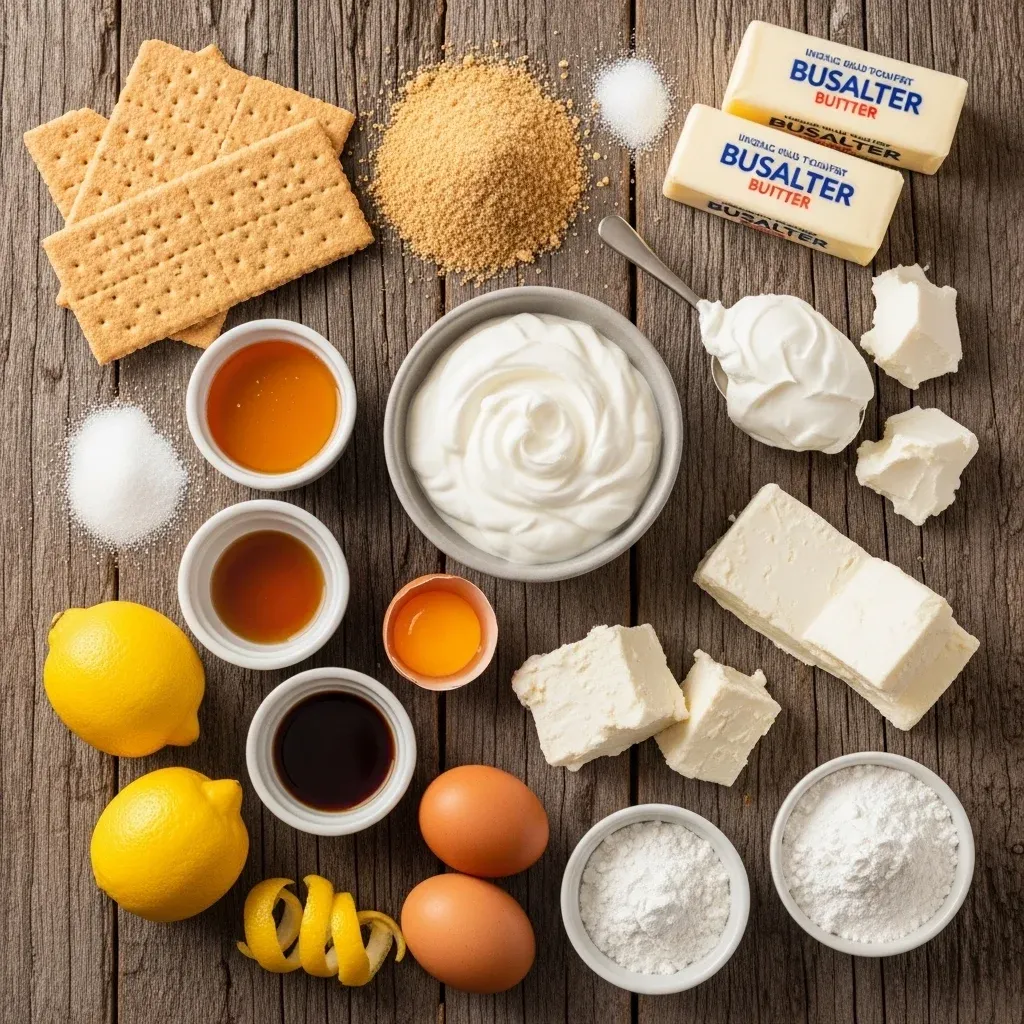
Selecting high-quality ingredients ensures your Greek Yogurt Cheesecake turns out perfectly every single time. I always recommend using full-fat Greek yogurt for the best mouthfeel. It provides the creamy consistency that defines a great cheesecake.
However, you can use 2% if you prefer a leaner option. For the crust, I love a classic graham cracker base with a hint of cinnamon. It adds a warm, nostalgic flavor that complements the tangy filling. Here is everything you will need to gather before you start baking your Greek Yogurt Cheesecake.
| Ingredient Category | Items Needed | Measurement |
|---|---|---|
| Crust | Graham Cracker Crumbs | 1.5 Cups |
| Crust | Unsalted Butter (Melted) | 5 Tablespoons |
| Crust | Granulated Sugar | 2 Tablespoons |
| Filling | Full-Fat Greek Yogurt (Plain) | 2 Cups |
| Filling | Cream Cheese (Softened) | 8 Ounces |
| Filling | Large Eggs | 3 Units |
| Filling | Honey or Maple Syrup | 1/2 Cup |
| Filling | Vanilla Extract | 2 Teaspoons |
| Filling | Lemon Zest | 1 Tablespoon |
| Filling | Cornstarch | 2 Tablespoons |
Substitutions & Variations
I understand that every family has different dietary needs and preferences. You can easily adapt this Greek Yogurt Cheesecake to fit your lifestyle. If you need a gluten-free version, simply swap the graham crackers for your favorite gluten-free cookie crumbs.
You could even use a nut-based crust made from crushed almonds and dates for extra fiber. For those who prefer to avoid refined sugar, coconut sugar works well in the crust. In the filling of the Greek Yogurt Cheesecake, you can replace the honey with agave nectar or even a monk fruit sweetener for a lower-calorie option.
You can also play with the flavors of your Greek Yogurt Cheesecake. Consider adding a swirl of raspberry jam or fresh blueberry compote before baking. This creates a beautiful marbled effect and adds a burst of fruity goodness.
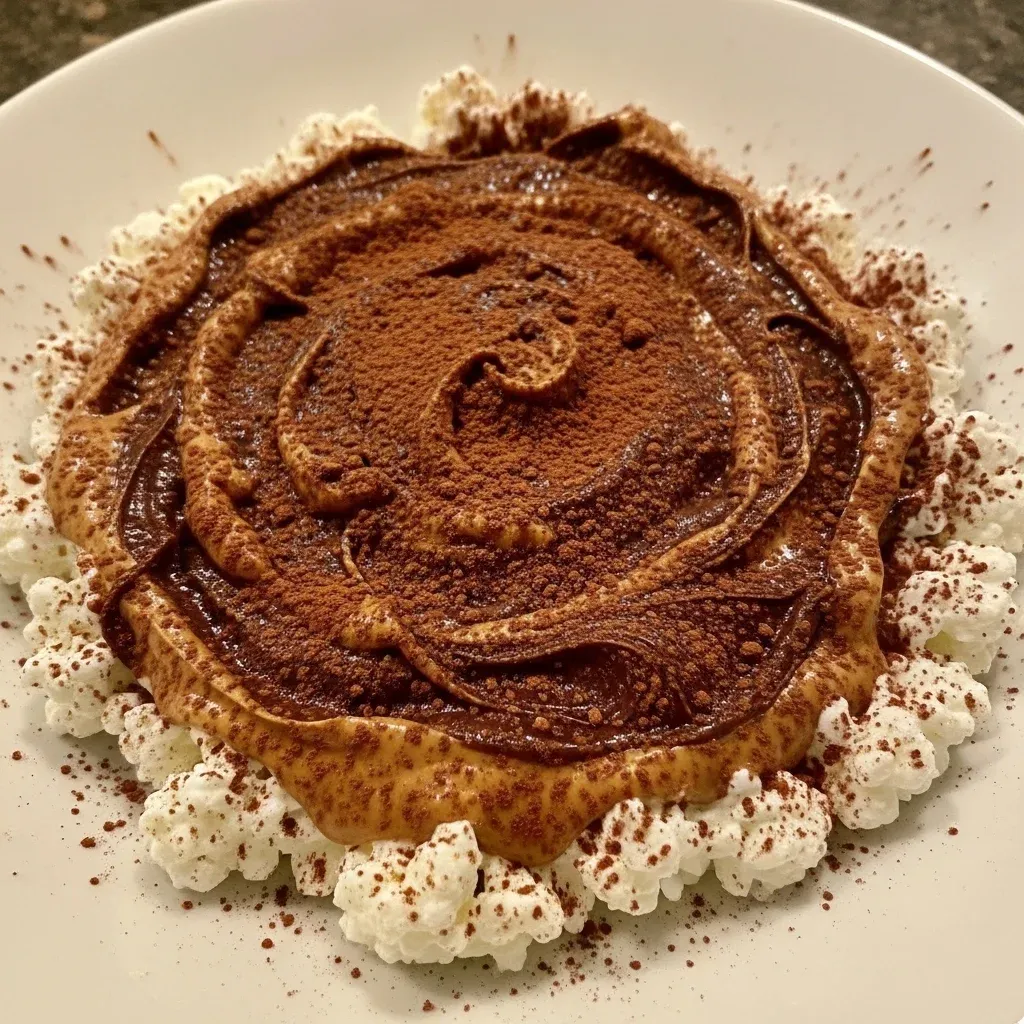
If you love citrus, try using lime zest instead of lemon for a tropical twist. Some people even like to fold in mini chocolate chips for a bit of crunch. No matter how you change it, the base Greek Yogurt Cheesecake remains a reliable and delicious canvas for your culinary creativity. Do not be afraid to experiment and make this recipe your own!
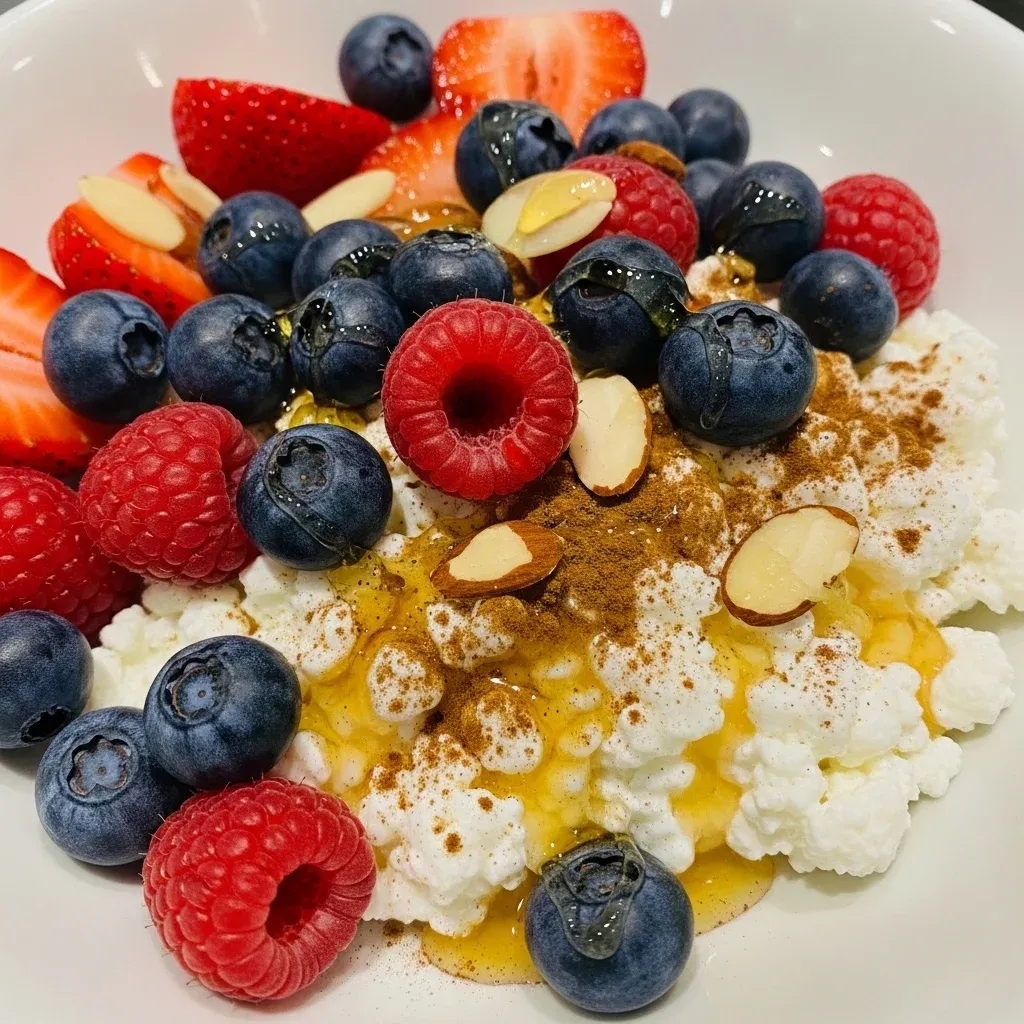
Just as you can customize this cheesecake to fit various dietary needs, you can also explore other delicious and healthy dairy-based options. For another fantastic way to incorporate protein and customize flavors for your lifestyle, consider trying a cottage cheese smoothie.
Step-by-Step Instructions
Follow these simple steps to create the ultimate Greek Yogurt Cheesecake in your own kitchen. First, preheat your oven to 325°F (165°C). Grease a 9-inch springform pan thoroughly with butter or non-stick spray.
In a medium bowl, combine the graham cracker crumbs, melted butter, and sugar. Press the mixture firmly into the bottom of the pan to create an even layer. Bake the crust for about 10 minutes until it turns golden brown. Set it aside to cool while you prepare the Greek Yogurt Cheesecake filling.
Note: This video is for demonstration purposes and may use a slightly different method.
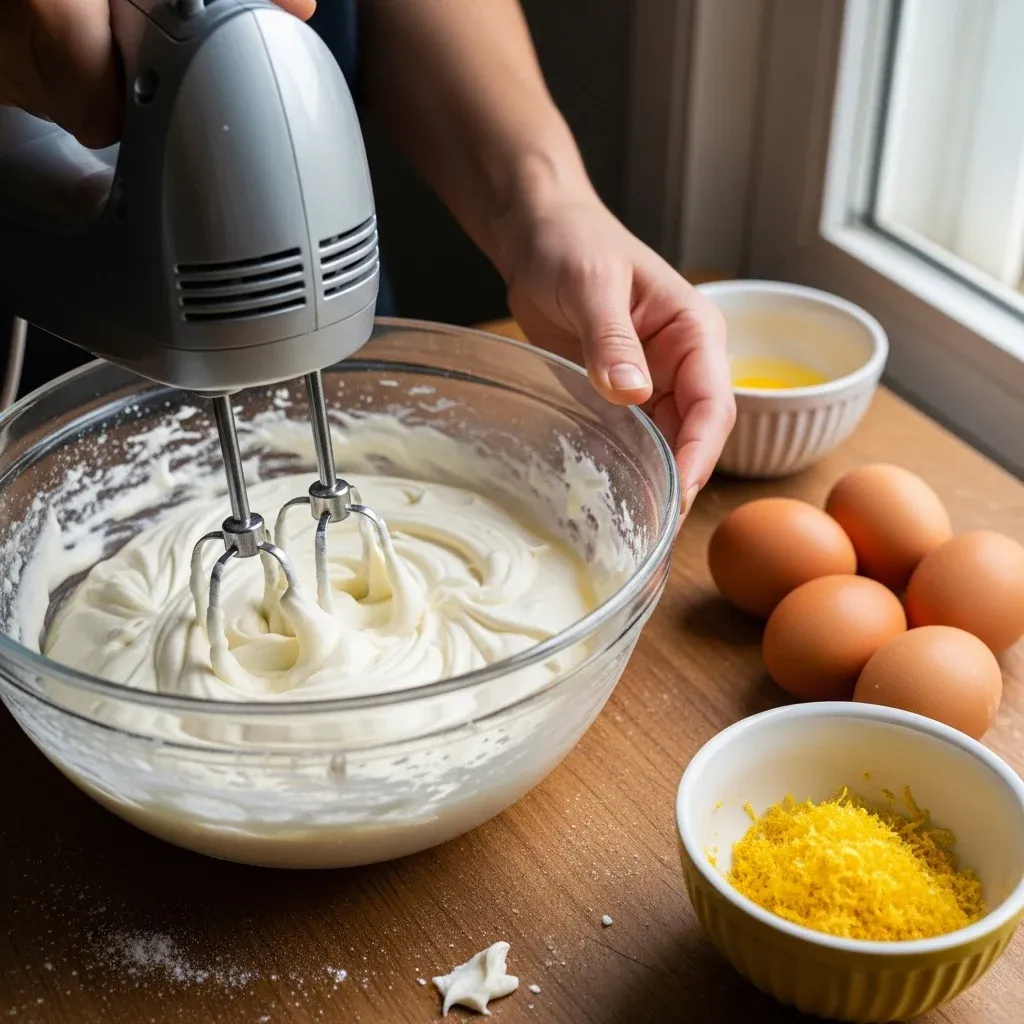
- In a large mixing bowl, beat the softened cream cheese until it is completely smooth.
- Add the Greek yogurt and honey to the cream cheese. Mix on medium speed until well combined.
- Incorporate the eggs one at a time. Be sure to beat the mixture slowly after each addition to avoid adding too much air.
- Stir in the vanilla extract, lemon zest, and cornstarch. The cornstarch helps stabilize the Greek Yogurt Cheesecake during the baking process.
- Pour the smooth batter over the cooled crust. Smooth the top with a spatula.
- Place the pan in the center of the oven. Bake for 45 to 50 minutes. The edges should be set, but the center should still have a slight jiggle.
- Turn off the oven and crack the door open. Let the Greek Yogurt Cheesecake cool inside for 30 minutes to prevent cracking.
- Remove it from the oven and let it cool completely on a wire rack.
- Refrigerate the cheesecake for at least 4 hours, or preferably overnight, before serving.
Pro Tips for Success
Achieving a bakery-quality Greek Yogurt Cheesecake requires a few simple tricks. Most importantly, ensure all your refrigerated ingredients reach room temperature before you start. Room-temperature eggs, cream cheese, and yogurt blend much more easily.
This prevents lumps in your batter and results in a silkier Greek Yogurt Cheesecake. If you forget to take them out early, you can place the eggs in warm water for five minutes. You can also microwave the cream cheese in short bursts until it softens.
Another crucial tip involves the mixing process. You must avoid overbeating the batter once you add the eggs. Overmixing incorporates too much air, which causes the Greek Yogurt Cheesecake to rise rapidly and then collapse.
This leads to those unsightly cracks on the surface. Use a low speed on your mixer and stop as soon as the ingredients look combined. Additionally, the slow cooling method in the oven is vital.
Sudden temperature changes cause the cake to shrink too quickly. Patience is your best friend when making a Greek Yogurt Cheesecake. Allow it the full time to chill in the fridge so the flavors can develop and the texture can set properly.
Paying attention to small details, like ingredient temperature, is key to elevating your dishes, just as simple yet delicious ingredients can transform your daily meals. If you appreciate nutritious, easy-to-prepare options, a versatile cottage cheese bowl offers endless possibilities for a satisfying snack or light meal.
Storage & Reheating Tips
You can keep your Greek Yogurt Cheesecake fresh and delicious for several days with proper storage. Once the cake has chilled completely, wrap it tightly in plastic wrap or aluminum foil. Store it in the refrigerator for up to five days.
The flavors actually improve after a day or two, as the lemon and vanilla meld with the yogurt. If you want to store it longer, this Greek Yogurt Cheesecake freezes beautifully. Wrap individual slices in parchment paper and then place them in a freezer-safe bag. They will stay fresh for up to three months.
When you are ready to enjoy a frozen slice of Greek Yogurt Cheesecake, thaw it in the refrigerator overnight. I do not recommend reheating cheesecake in the microwave, as it will ruin the delicate texture. However, if you prefer a slightly softer consistency, let the slice sit at room temperature for 15 to 20 minutes before eating.
Always use a clean, sharp knife to cut your Greek Yogurt Cheesecake. Dipping the knife in hot water and wiping it between cuts will give you those clean, professional-looking slices every time.
What to Serve With This Greek Yogurt Cheesecake
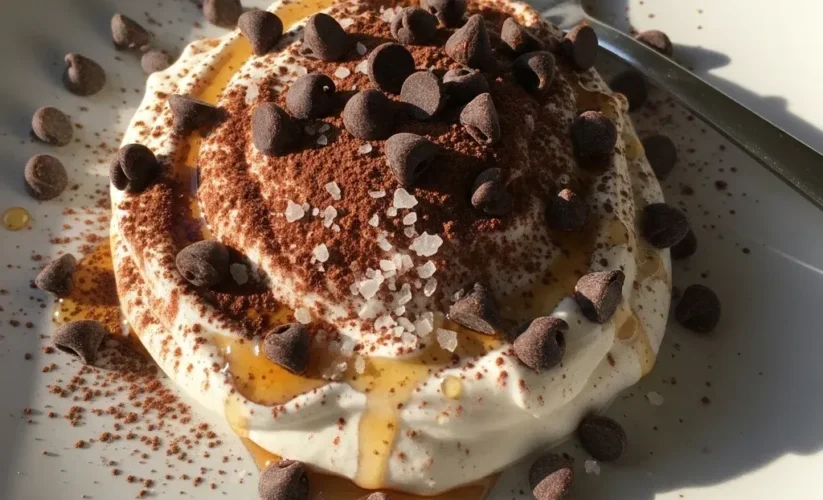
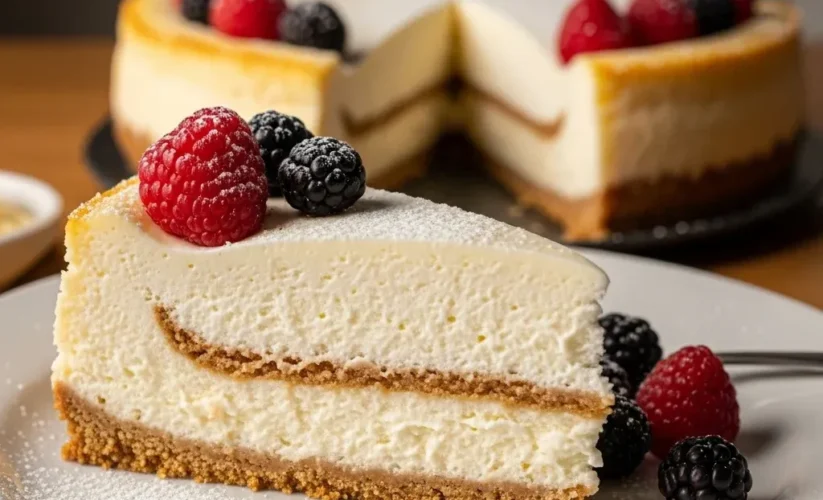
This Greek Yogurt Cheesecake is stunning on its own, but the right toppings can elevate it to a whole new level. I personally love serving it with a generous pile of fresh berries. Strawberries, raspberries, and blackberries add a vibrant color and a tart contrast to the creamy filling.
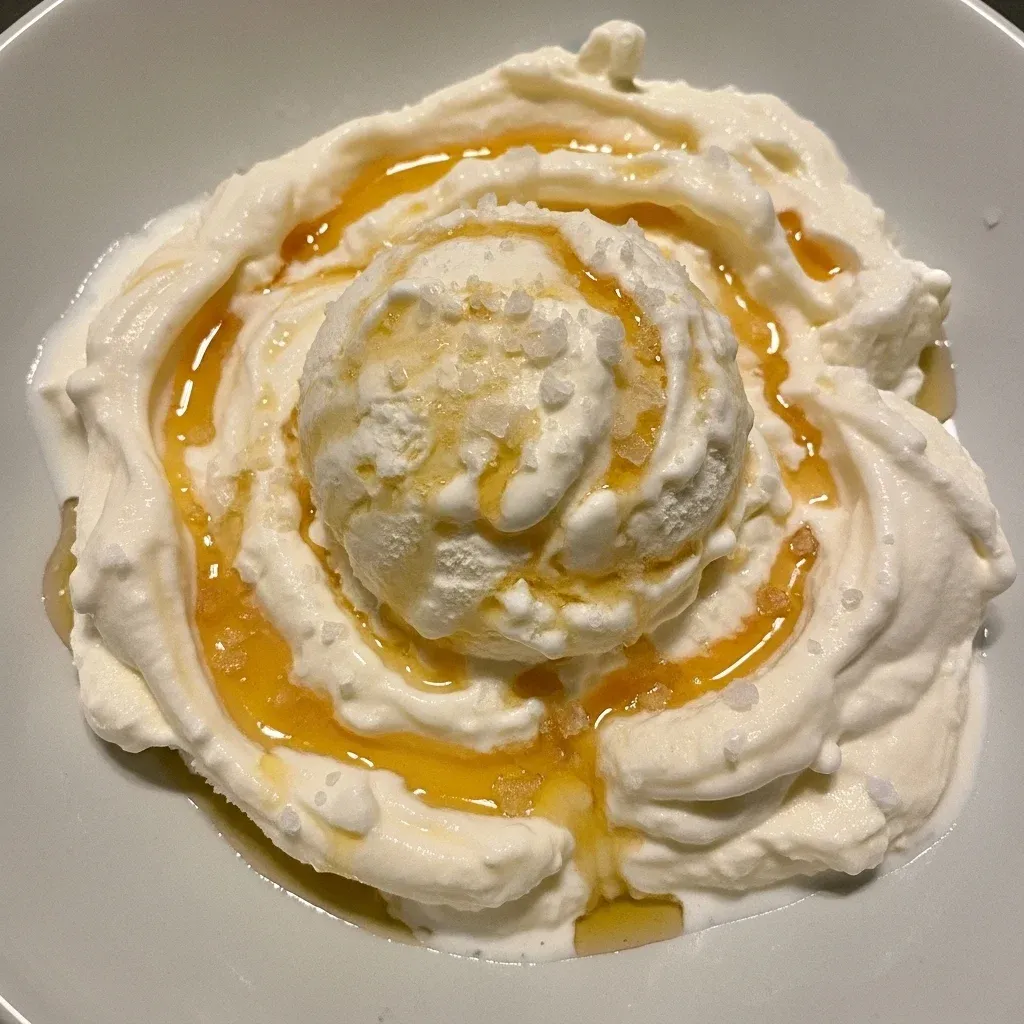
You can also drizzle a little extra honey or a balsamic glaze over the top for a sophisticated touch. If you want something more indulgent, a dollop of homemade whipped cream or a spoonful of lemon curd pairs perfectly with the Greek Yogurt Cheesecake.
For a festive occasion, consider serving the Greek Yogurt Cheesecake alongside a warm cup of coffee or herbal tea. The warmth of the drink complements the cool, creamy dessert wonderfully. If you are hosting a summer brunch, a glass of chilled Prosecco or a sparkling cider makes a delightful accompaniment.
My kids often ask for a sprinkle of crushed nuts or a few mint leaves on their slices. This Greek Yogurt Cheesecake is so versatile that it works for any time of day and any type of celebration. Let your imagination guide you as you plate this beautiful dessert.
The right toppings beautifully enhance the texture and flavor of this cheesecake, much like simple preparations can transform basic ingredients into something extraordinary. For another delightfully light and airy dairy-based creation that’s equally versatile and delicious, you might enjoy making a fluffy cottage cheese dish.
FAQs
Can I use non-fat Greek yogurt for this recipe?
You can use non-fat yogurt, but the texture of the Greek Yogurt Cheesecake will be less creamy. Full-fat yogurt provides the best stability and flavor. If you choose non-fat, the cake may be slightly more dense and less silky. I recommend sticking with at least 2% fat for a good result.
How do I know when the cheesecake is done baking?
The Greek Yogurt Cheesecake is done when the outer edges look firm and slightly puffed. The center should still have a “wobble” similar to gelatin when you gently shake the pan. Do not wait for the center to become completely firm, or you will overbake the cake, leading to a dry texture.
Why did my Greek Yogurt Cheesecake crack?
Cracks usually happen because of overmixing the eggs or cooling the cake too quickly. Air bubbles trapped in the batter expand and then pop, creating cracks. Additionally, sudden temperature drops cause the Greek Yogurt Cheesecake to contract. Following the slow cooling tip in the oven helps prevent this issue.
Can I make this cheesecake without a springform pan?
Yes, you can use a regular deep-dish pie plate or a square baking pan. However, you will not be able to remove the Greek Yogurt Cheesecake as easily. You will likely need to serve it directly from the dish. If using a different pan, keep an eye on the baking time as it may vary slightly.
Greek yogurt cheesecake offers a delightful twist on the traditional dessert, known for its lighter texture and tangy profile due to the incorporation of strained yogurt. This makes it a popular choice for those seeking a less indulgent yet equally satisfying version of the classic baked cheesecake.
Nutrition Information (per serving)
This Greek Yogurt Cheesecake offers a lighter nutritional profile compared to traditional versions. It contains more protein and fewer calories per slice. Below is an estimate of the nutritional values for one serving, assuming the cake is cut into 12 equal slices.
| Nutrient | Amount per Serving |
|---|---|
| Calories | 245 kcal |
| Total Fat | 14g |
| Saturated Fat | 8g |
| Cholesterol | 75mg |
| Sodium | 180mg |
| Total Carbohydrates | 22g |
| Dietary Fiber | 0.5g |
| Sugars | 14g |
| Protein | 9g |
I hope you enjoy making and eating this Greek Yogurt Cheesecake as much as my family does. It truly is a testament to the fact that nourishing food can be incredibly delicious. When you share this Greek Yogurt Cheesecake with your loved ones, you are sharing a bit of heart and soul. Happy baking!
PrintGreek Yogurt Cheesecake
A light and nourishing Greek Yogurt Cheesecake, balancing a delicate tang with perfect sweetness. This family-favorite dessert offers a creamy, silky experience, providing a satisfying treat without feeling heavy. It's an approachable recipe, perfect for any occasion, bridging the gap between a healthy snack and a luxury dessert.
- Prep Time: 20 mins
- Cook Time: 60 mins
- Total Time: 80 mins
- Yield: 12 servings
- Category: Dessert
- Method: Baking
- Cuisine: American
- Diet: Vegetarian
Ingredients
1.5 Cups Graham Cracker Crumbs
5 Tablespoons Unsalted Butter (Melted)
2 Tablespoons Granulated Sugar
2 Cups Full-Fat Greek Yogurt (Plain)
8 Ounces Cream Cheese (Softened)
3 Units Large Eggs
0.5 Cup Honey or Maple Syrup
2 Teaspoons Vanilla Extract
1 Tablespoon Lemon Zest
2 Tablespoons Cornstarch
Instructions
- Preheat oven to 325°F (165°C)
- Grease a 9-inch springform pan thoroughly with butter or non-stick spray
- In a medium bowl, combine the graham cracker crumbs, melted butter, and sugar
- Press the mixture firmly into the bottom of the pan to create an even layer
- Bake the crust for about 10 minutes until it turns golden brow
- Set the crust aside to cool while preparing the filling
- In a large mixing bowl, beat the softened cream cheese until it is completely smooth
- Add the Greek yogurt and honey to the cream cheese, and mix on medium speed until well combined
- Incorporate the eggs one at a time, beating the mixture slowly after each addition to avoid adding too much air
- Stir in the vanilla extract, lemon zest, and cornstarch. The cornstarch helps stabilize the Greek Yogurt Cheesecake during the baking process
- Pour the smooth batter over the cooled crust and smooth the top with a spatula
- Place the pan in the center of the oven and bake for 45 to 50 minutes, until the edges are set and the center has a slight jiggle
- Turn off the oven and crack the door open; let the Greek Yogurt Cheesecake cool inside for 30 minutes to prevent cracking
- Remove it from the oven and let it cool completely on a wire rack
- Refrigerate the cheesecake for at least 4 hours, or preferably overnight, before serving
Notes
Ensure all refrigerated ingredients (eggs, cream cheese, yogurt) reach room temperature before starting to prevent lumps and achieve a silkier texture.
Avoid overbeating the batter, especially once eggs are added, to prevent too much air incorporation which can cause cracks. Use a low mixer speed and stop as soon as ingredients are combined.
The slow cooling method in the oven is vital to prevent cracking from sudden temperature changes.
Allow the cheesecake to chill for at least 4 hours, or preferably overnight, for flavors to develop and texture to set properly.
For a gluten-free version, swap graham crackers for gluten-free cookie crumbs or a nut-based crust.
For refined sugar alternatives, coconut sugar works in the crust, and agave nectar or monk fruit sweetener can replace honey in the filling.
Customize flavors by adding a swirl of raspberry jam, fresh blueberry compote, lime zest, or mini chocolate chips.
Store leftovers tightly wrapped in plastic wrap or foil in the refrigerator for up to 5 days, or freeze individual slices for up to 3 months (wrapped in parchment and then a freezer-safe bag).
Thaw frozen slices in the refrigerator overnight; do not microwave.
Serve with fresh berries, a drizzle of honey, balsamic glaze, homemade whipped cream, lemon curd, coffee, herbal tea, chilled Prosecco, or sparkling cider.