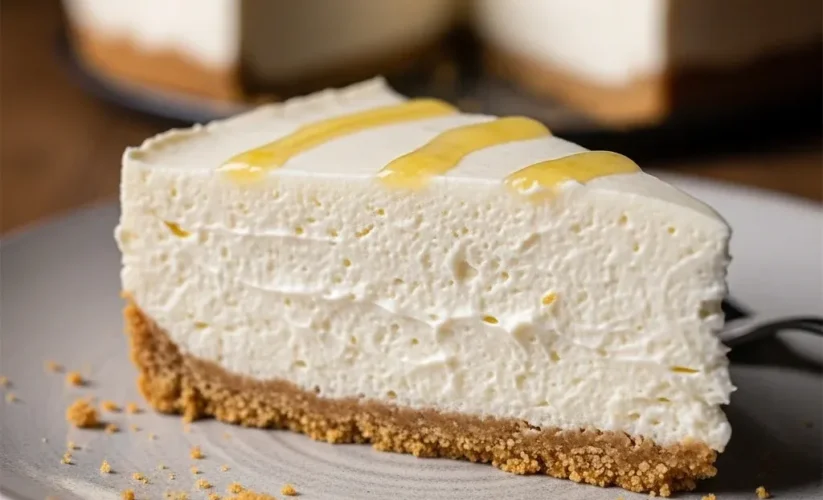
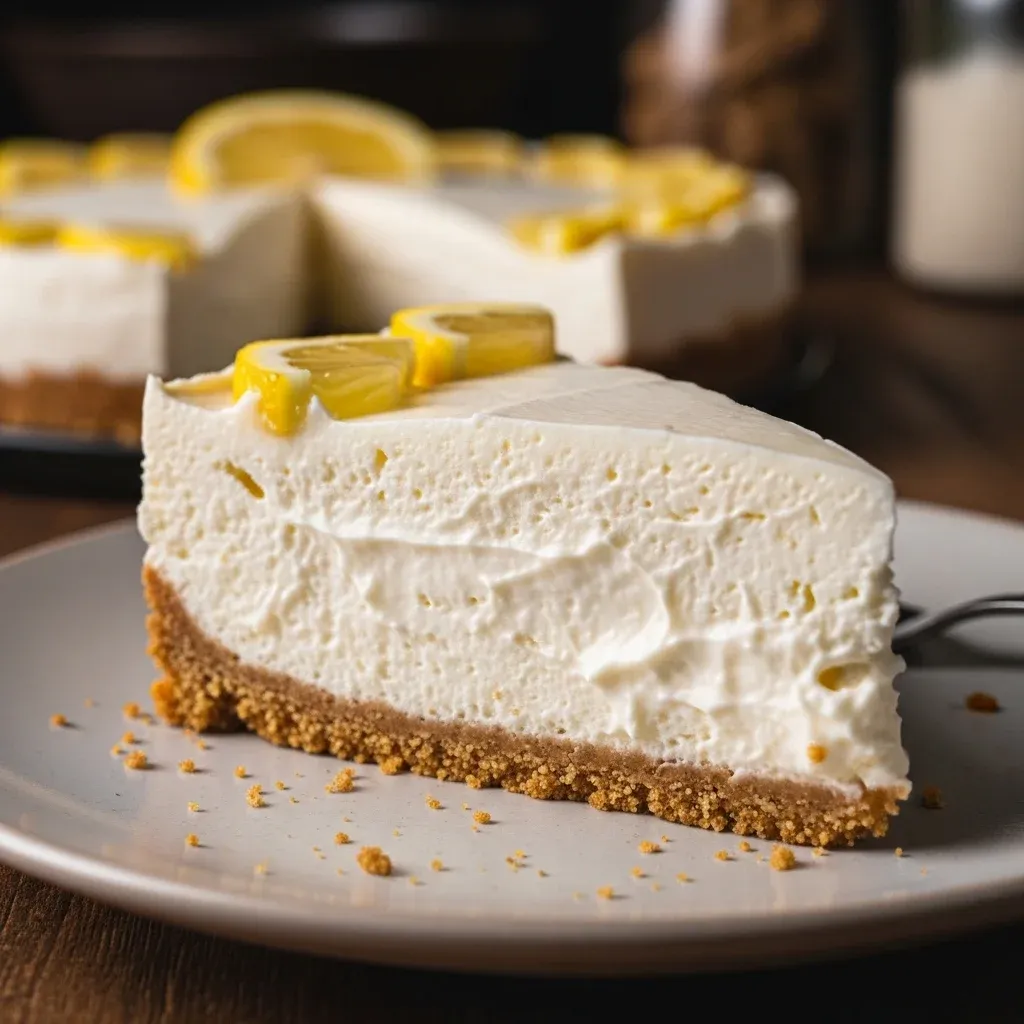
No-Bake Protein Cheesecake
Last Tuesday, my youngest son, Leo, came home from soccer practice with a look of pure exhaustion. His two older sisters were already at the kitchen table, begging for a snack that didn’t involve apple slices or carrot sticks. As a mom of three, I constantly balance the desire to spoil my children with the need to keep them nourished.
I believe food is love, and nothing says “I love you” quite like a creamy dessert. However, I didn’t want to heat up the house with the oven, nor did I want them crashing from a sugar high an hour later. That is when I decided to whip up a No-Bake Protein Cheesecake.
I remember my own mother making traditional cheesecakes for Sunday dinner, but those took hours to bake and even longer to cool. This modern No-Bake Protein Cheesecake satisfies that nostalgic craving while fueling my family with high-quality protein. Within minutes, the kitchen smelled of sweet vanilla and buttery graham crackers.
As we sat together, sharing a slice of this No-Bake Protein Cheesecake, the chaos of the day simply melted away. This recipe has quickly become a staple in our household because it bridges the gap between a healthy post-workout snack and a decadent family dessert.
Why You’ll Love This No-Bake Protein Cheesecake Recipe
You will absolutely adore this No-Bake Protein Cheesecake because it simplifies your life without compromising on flavor. First and foremost, you save time. Traditional cheesecakes require water baths and precise oven temperatures, but this No-Bake Protein Cheesecake skips all that stress.
Secondly, the protein content makes it a functional food. Instead of empty calories, this No-Bake Protein Cheesecake provides the building blocks your body needs for muscle recovery and sustained energy. Furthermore, the texture remains incredibly silky and light.
Many people worry that “healthy” desserts taste chalky, but this No-Bake Protein Cheesecake feels like a cloud on your tongue. Kids love the sweetness, while parents appreciate the wholesome ingredients. Additionally, it is a perfect make-ahead dish for busy weeknights or summer potlucks.
You can prepare the No-Bake Protein Cheesecake in the morning and have a stunning dessert ready by dinner time. Finally, this recipe is remarkably versatile. You can dress it up for a fancy party or keep it simple for a quick Tuesday treat. Once you try this No-Bake Protein Cheesecake, you will likely never go back to the heavy, calorie-laden traditional versions.
Ingredients You’ll Need
To create the perfect No-Bake Protein Cheesecake, you need a balance of creamy bases and structural elements. I always suggest using the highest quality ingredients you can find, as the flavors really shine through when you aren’t baking them. For the crust, I prefer classic graham cracker crumbs mixed with a touch of melted butter.
For the filling, Greek yogurt and light cream cheese provide the tangy foundation we all love. Most importantly, choose a vanilla protein powder that you actually enjoy drinking, as it provides the primary flavor profile for your No-Bake Protein Cheesecake.
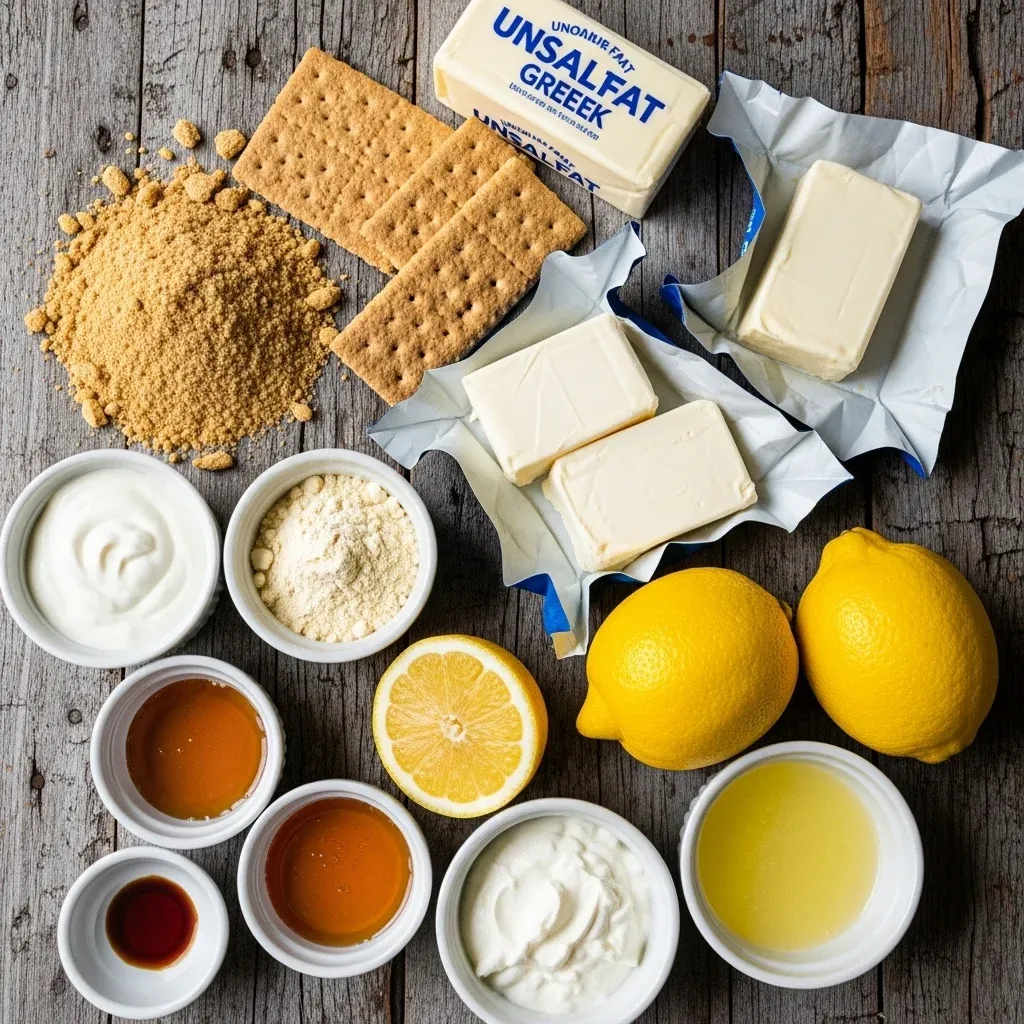
| Component | Ingredient | Amount |
|---|---|---|
| Crust | Graham Cracker Crumbs | 1.5 Cups |
| Crust | Melted Unsalted Butter | 4 Tablespoons |
| Filling | Low-Fat Cream Cheese (Softened) | 16 oz (2 blocks) |
| Filling | Plain Non-Fat Greek Yogurt | 1 Cup |
| Filling | Vanilla Whey Protein Powder | 3 Scoops (approx. 90g) |
| Filling | Honey or Maple Syrup | 1/4 Cup |
| Filling | Pure Vanilla Extract | 1 Teaspoon |
| Filling | Fresh Lemon Juice | 1 Tablespoon |
Substitutions & Variations
I know every family has different dietary needs, so feel free to customize your No-Bake Protein Cheesecake. If you need a gluten-free option, simply swap the graham crackers for gluten-free almond flour crackers. For those watching their fat intake, you can use Neufchâtel cheese instead of regular cream cheese in your No-Bake Protein Cheesecake.
If you prefer a dairy-free version, use a plant-based cream cheese and a thick coconut yogurt. However, keep in mind that the protein powder type matters; whey blends usually yield the smoothest results for this No-Bake Protein Cheesecake. You can also experiment with flavors!
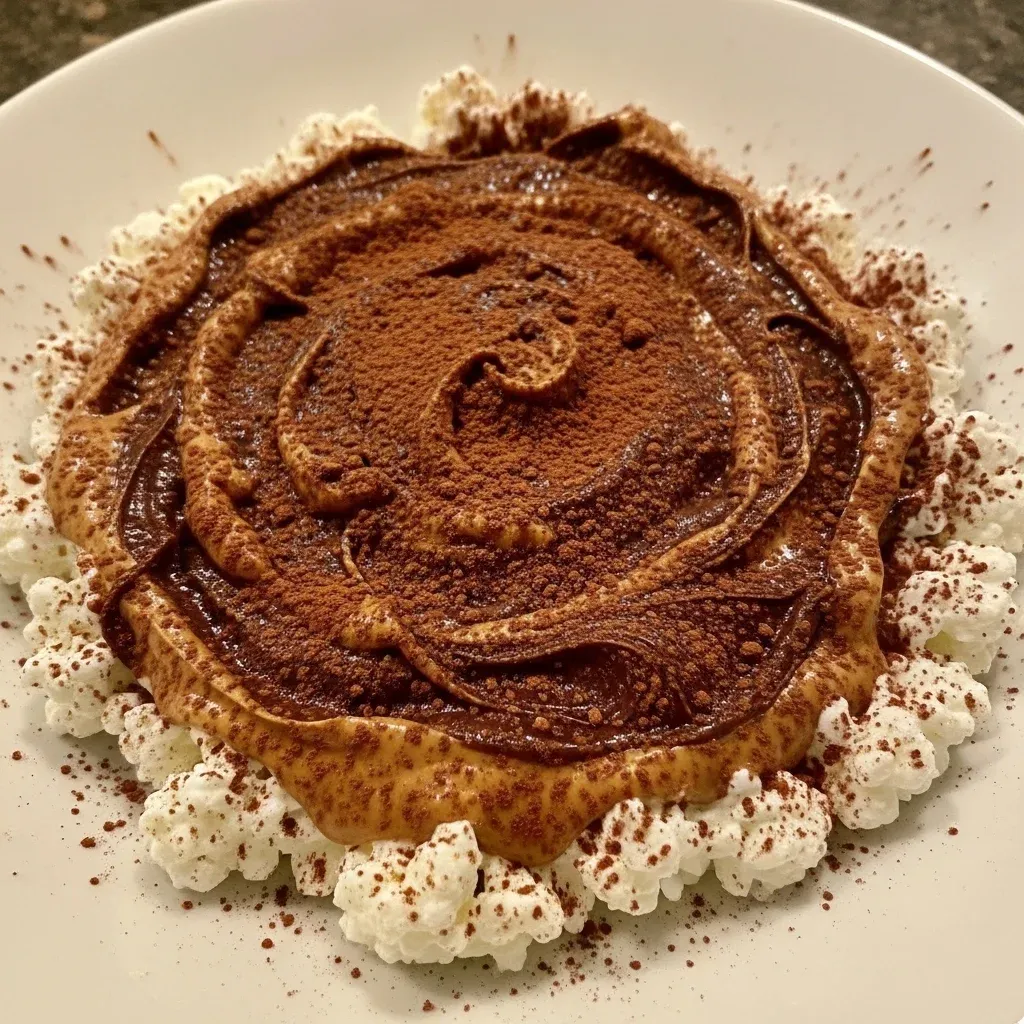
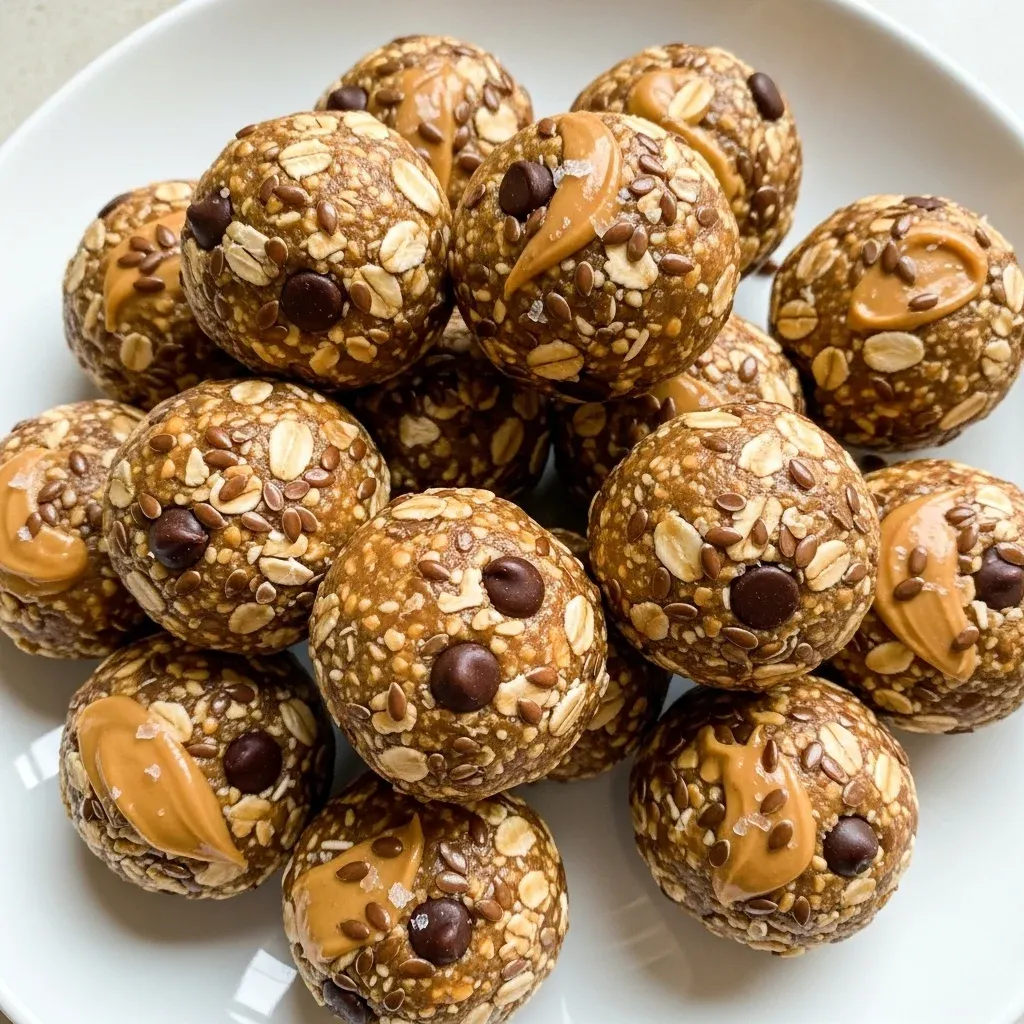
Try a chocolate protein powder to make a Chocolate No-Bake Protein Cheesecake, or add a swirl of peanut butter into the batter. For a fruity twist, fold in half a cup of crushed raspberries before chilling. If you want a boost of fiber, you can even replace part of the crust with crushed oats. The possibilities for this No-Bake Protein Cheesecake are truly endless, allowing you to cater to every palate in your home.
Customizing your No-Bake Protein Cheesecake for various dietary needs is a fantastic way to ensure everyone enjoys a healthy treat. If you’re exploring other nutritious and versatile options for a quick meal or dessert base, consider the comforting flavors of a cottage cheese baked dish, which also offers excellent protein benefits.
Step-by-Step Instructions
Follow these simple steps to ensure your No-Bake Protein Cheesecake turns out perfectly every single time. Preparation is key, so gather all your tools before you begin. You will need a 9-inch springform pan, a large mixing bowl, and an electric hand mixer.
Note: This video is for demonstration purposes and may use a slightly different method.
First, prepare the crust for your No-Bake Protein Cheesecake. Combine the graham cracker crumbs and melted butter in a small bowl. Stir them until the mixture resembles wet sand.
Press the crumbs firmly into the bottom of your springform pan. Use the bottom of a measuring cup to create an even, flat layer. Place the pan in the freezer for 10 minutes to set the crust while you prepare the filling.
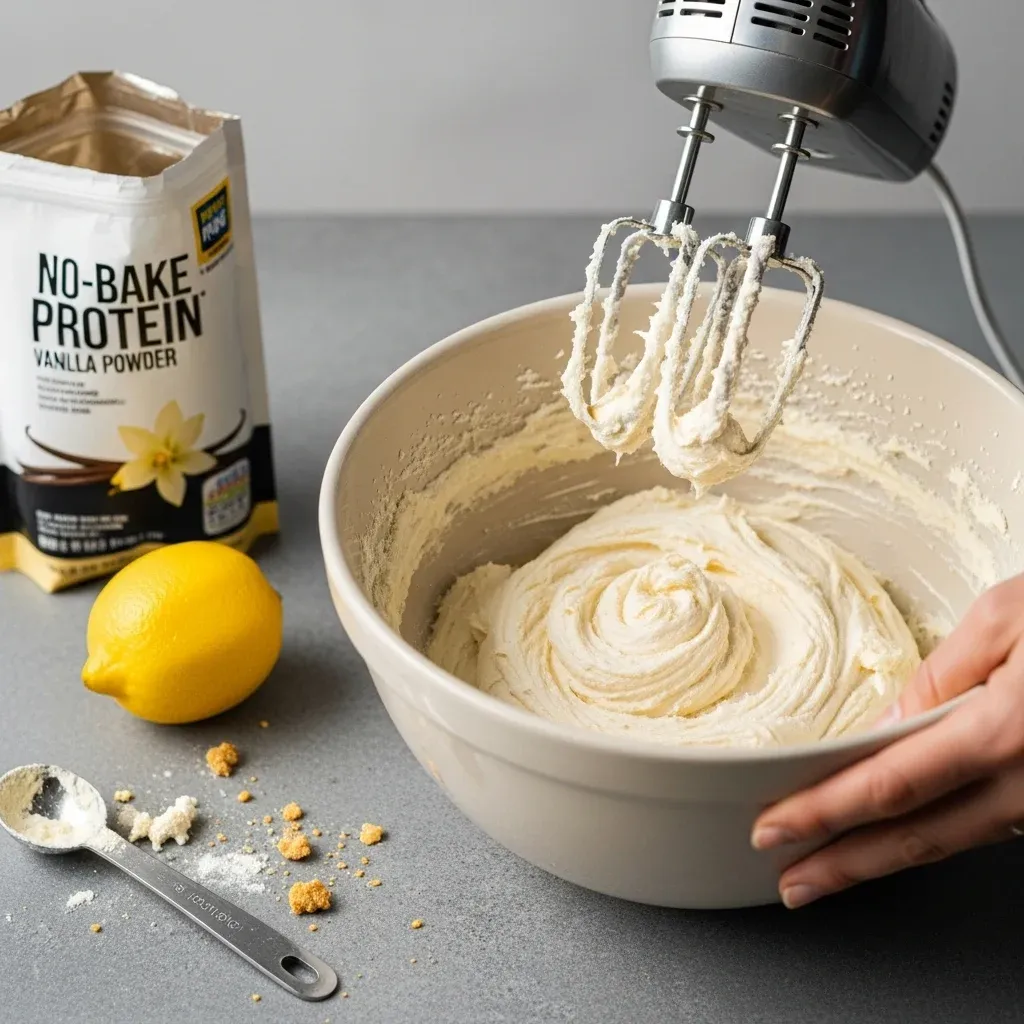
Next, focus on the creamy center of the No-Bake Protein Cheesecake. In a large bowl, beat the softened cream cheese until it is completely smooth and free of lumps. This step is crucial for the texture of your No-Bake Protein Cheesecake.
Slowly add the Greek yogurt, honey, vanilla extract, and lemon juice. Continue mixing on medium speed until the ingredients incorporate fully.
Now, add the protein powder to the mixture. I recommend adding one scoop at a time to prevent a “protein cloud” from blowing back at you. Whisk until the filling for your No-Bake Protein Cheesecake looks thick and glossy.
If the mixture seems too thick, you can add a splash of almond milk. Conversely, if it seems too thin, another half scoop of protein powder usually does the trick.
Pour the filling over the chilled crust. Use a spatula to smooth the top of your No-Bake Protein Cheesecake. Cover the pan with plastic wrap, ensuring the wrap does not touch the surface of the cake.
Place the No-Bake Protein Cheesecake in the refrigerator. Let it chill for at least 4 to 6 hours, though overnight is always better for the best sliceable consistency. Once set, run a knife around the edges before releasing the springform sides.
Pro Tips for Success
Achieving a bakery-quality No-Bake Protein Cheesecake at home requires a few “mom secrets.” First, ensure your cream cheese stays at room temperature for at least an hour before mixing. Cold cream cheese creates tiny lumps that ruin the velvety feel of the No-Bake Protein Cheesecake. Second, don’t over-mix once you add the protein powder.
Over-mixing can introduce too much air, which might cause the No-Bake Protein Cheesecake to lose its structural integrity. Third, use a high-quality whey or casein-whey blend. Plant-based proteins can sometimes absorb too much moisture, making the No-Bake Protein Cheesecake feel dry.
Fourth, always use fresh lemon juice. The acidity reacts with the dairy to help the No-Bake Protein Cheesecake firm up as it chills. Fifth, if you find the cake isn’t setting as firmly as you like, you can dissolve a teaspoon of gelatin in warm water and whisk it into the filling. This ensures a perfect slice every time you serve your No-Bake Protein Cheesecake.
Achieving that perfect, velvety texture in your cheesecake relies on these essential “mom secrets,” making every bite a delight. For another simple yet satisfying option that embodies health and speed, a vibrant cottage cheese berry bowl offers a similar blend of nutrients and deliciousness, perfect for any time of day.
Storage & Reheating Tips
Proper storage ensures your No-Bake Protein Cheesecake stays fresh for several days. Because this recipe contains dairy and no preservatives, you must keep it refrigerated. Place the No-Bake Protein Cheesecake in an airtight container or keep it in the springform pan tightly covered with foil.
It will stay delicious for up to 5 days in the fridge. Interestingly, the flavors often deepen after 24 hours, making the No-Bake Protein Cheesecake even better the next day. If you want to store it longer, you can freeze the No-Bake Protein Cheesecake.
Wrap individual slices in parchment paper and then place them in a freezer-safe bag. They will keep for up to three months. When you are ready to eat, thaw a slice of No-Bake Protein Cheesecake in the refrigerator for about two hours.
Never microwave this dish! Since it is a No-Bake Protein Cheesecake, heat will cause the structure to collapse and the yogurt to separate. Cold or slightly chilled is the only way to enjoy this treat.
What to Serve With This Recipe
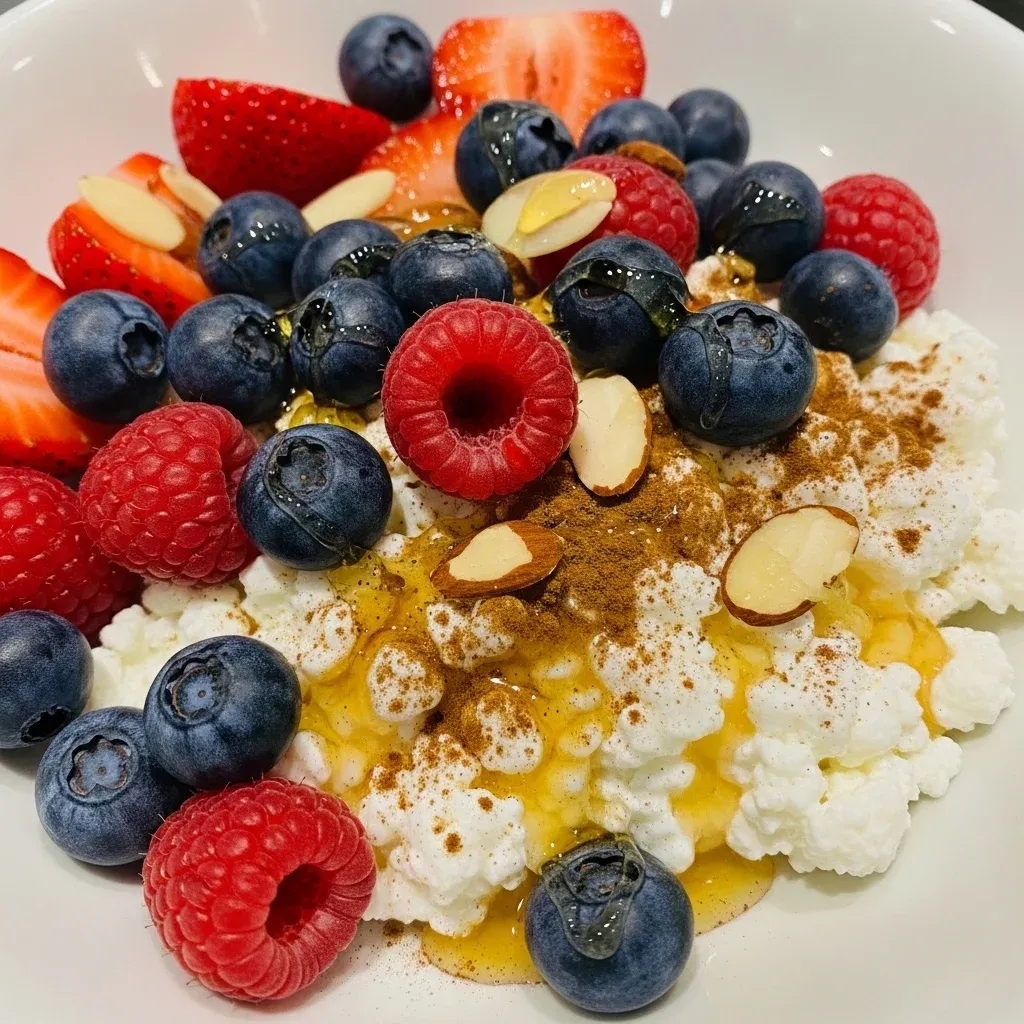
While this No-Bake Protein Cheesecake is spectacular on its own, adding a few garnishes can elevate the experience. For a fresh touch, pile a handful of macerated strawberries or blueberries on top. The tartness of the berries complements the sweetness of the No-Bake Protein Cheesecake perfectly.
If you are serving this after a workout, a drizzle of almond butter adds extra healthy fats. For a traditional dessert vibe, add a dollop of homemade whipped cream or a sprinkle of dark chocolate shavings. I often serve a slice of No-Bake Protein Cheesecake alongside a hot cup of herbal tea or a bold espresso.
The warmth of the drink contrasts beautifully with the cold, creamy texture of the No-Bake Protein Cheesecake. If you are hosting a party, create a “topping bar” so guests can customize their own No-Bake Protein Cheesecake slices with crushed nuts, coconut flakes, or caramel sauce. It turns a simple meal into a memorable event.
While garnishes elevate the presentation and flavor of this no-bake treat, the core idea is to make healthy eating enjoyable and convenient. For another effortlessly quick and protein-packed option that can be customized with various fruits and flavors, try a refreshing cottage cheese smoothie, ideal for a boost on the go.
FAQs
Can I use a different type of protein powder?
Yes, you can use different powders, but results vary. Whey protein creates a creamy No-Bake Protein Cheesecake, while casein makes it thicker. Plant-based powders might require a bit more liquid to maintain the right texture.
How do I make the crust stay together without baking?
The key is the ratio of butter to crumbs. Ensure the crumbs feel like wet sand. When you freeze the crust before adding the No-Bake Protein Cheesecake filling, the butter solidifies and acts as a glue.
Is this recipe keto-friendly?
To make a keto No-Bake Protein Cheesecake, replace the graham cracker crust with an almond flour and erythritol base. Also, use a sugar-free sweetener instead of honey in the filling.
Can I make mini cheesecakes instead?
Absolutely! Use a muffin tin with liners to create individual servings of No-Bake Protein Cheesecake. This is a great way to control portions and makes them perfect for kids’ lunchboxes.
Why is my cheesecake runny?
If your No-Bake Protein Cheesecake didn’t set, it usually means it didn’t chill long enough or the yogurt had too much liquid. Always use thick Greek yogurt for the best results.
A no-bake cheesecake offers a delightful alternative to its traditional baked counterpart, providing a creamy texture without the need for oven heat. These modern recipes often incorporate ingredients like protein powder to enhance nutritional value, making them popular among those seeking healthier dessert options. This approach streamlines the dessert-making process, relying on refrigeration to set the mixture, similar to other forms of confectionery that do not require baking.
Nutrition Information (per serving)
This No-Bake Protein Cheesecake offers a much better nutritional profile than your average store-bought dessert. By using Greek yogurt and protein powder, we’ve boosted the protein while keeping the sugars manageable. This table represents one slice of a No-Bake Protein Cheesecake cut into 12 equal portions.
| Nutrient | Amount Per Serving |
|---|---|
| Calories | 245 kcal |
| Protein | 15g |
| Total Fat | 12g |
| Carbohydrates | 18g |
| Sugars | 9g |
| Fiber | 1g |
Enjoying a slice of this No-Bake Protein Cheesecake allows you to treat yourself and your family without guilt. It is a testament to the fact that healthy eating can be absolutely delicious. I hope your family loves this No-Bake Protein Cheesecake as much as mine does!
PrintNo-Bake Protein Cheesecake
This No-Bake Protein Cheesecake offers a healthy, time-saving alternative to traditional cheesecakes, providing high-quality protein for muscle recovery and sustained energy. It features a silky, light texture with sweet vanilla and buttery graham cracker flavors, perfect for a post-workout snack or a decadent family dessert without heating up the kitchen.
- Prep Time: 20 mins
- Cook Time: 0 mins
- Total Time: 20 mins
- Yield: 12 servings
- Category: Dessert
- Method: No-Bake
- Cuisine: American
- Diet: High Protein, Vegetarian
Ingredients
1.5 Cups Graham Cracker Crumbs
4 Tablespoons Melted Unsalted Butter
16 oz Low-Fat Cream Cheese (Softened)
1 Cup Plain Non-Fat Greek Yogurt
3 Scoops Vanilla Whey Protein Powder
1/4 Cup Honey or Maple Syrup
1 Teaspoon Pure Vanilla Extract
1 Tablespoon Fresh Lemon Juice
Instructions
- Combine the graham cracker crumbs and melted butter in a small bowl. Stir them until the mixture resembles wet sand
- Press the crumbs firmly into the bottom of a 9-inch springform pan. Use the bottom of a measuring cup to create an even, flat layer
- Place the pan in the freezer for 10 minutes to set the crust while you prepare the filling
- In a large bowl, beat the softened cream cheese until it is completely smooth and free of lumps
- Slowly add the Greek yogurt, honey, vanilla extract, and lemon juice. Continue mixing on medium speed until the ingredients incorporate fully
- Add the protein powder to the mixture, one scoop at a time, to prevent a "protein cloud"
- Whisk until the filling looks thick and glossy. If the mixture seems too thick, you can add a splash of almond milk. If too thin, add another half scoop of protein powder
- Pour the filling over the chilled crust. Use a spatula to smooth the top
- Cover the pan with plastic wrap, ensuring the wrap does not touch the surface of the cake
- Place the No-Bake Protein Cheesecake in the refrigerator. Let it chill for at least 4 to 6 hours; overnight is better for the best sliceable consistency
- Once set, run a knife around the edges before releasing the springform sides
Notes
Ensure cream cheese is at room temperature for at least an hour before mixing to prevent lumps.
Do not over-mix after adding protein powder to avoid introducing too much air, which can compromise structural integrity.
Use a high-quality whey or casein-whey protein blend for optimal texture, as plant-based proteins might make the cheesecake dry.
Fresh lemon juice is crucial as its acidity reacts with the dairy to help the cheesecake firm up during chilling.
For extra firmness, dissolve a teaspoon of gelatin in warm water and whisk it into the filling.
Store refrigerated in an airtight container or tightly covered springform pan for up to 5 days; flavors often deepen after 24 hours.
To freeze, wrap individual slices in parchment paper and then place them in a freezer-safe bag for up to three months. Thaw in the refrigerator for about two hours.
Never microwave this dish; it must be enjoyed cold or slightly chilled to maintain its structure.