Chocolate Protein Bars
Life as a mom of three means my kitchen never truly stays quiet. Between school runs, soccer practices, and late-night homework sessions, someone always needs a snack. Usually, that someone is me or one of my growing kids who seems to have a bottomless pit for a stomach.
For years, I reached for store-bought snacks, but the long ingredient lists always bothered me. I wanted something that felt like a treat but acted like fuel. That is exactly how these Chocolate Protein Bars became a staple in our household.
I remember the first time I made them; the rich scent of cocoa filled the air, and my youngest thought I was making fudge. When I told them they were actually healthy snacks, they didn’t believe me until they took that first chewy, chocolatey bite. Now, these Chocolate Protein Bars sit in my fridge every single week, ready to tackle the afternoon slump or provide a quick breakfast on the go.
Food is how I show love, and providing my family with nourishing, homemade Chocolate Protein Bars makes my heart happy. You really can taste the difference when you make things from scratch with wholesome ingredients.
Mornings in the US are notoriously fast-paced. We often sacrifice nutrition for convenience. However, these Chocolate Protein Bars bridge that gap perfectly.
You get the convenience of a grab-and-go bar without the hidden preservatives or excessive sugars found in commercial brands. Furthermore, making your own Chocolate Protein Bars allows you to control the quality of the protein and the sweetness level. I love knowing exactly what my kids are eating.
Every bite of these Chocolate Protein Bars offers a balance of complex carbohydrates, healthy fats, and high-quality protein. It is the ultimate “mom win” when a recipe is this simple and this effective at keeping everyone full and focused. Whether you are a busy parent, a fitness enthusiast, or just someone who loves a good snack, these Chocolate Protein Bars will quickly become your new favorite recipe.
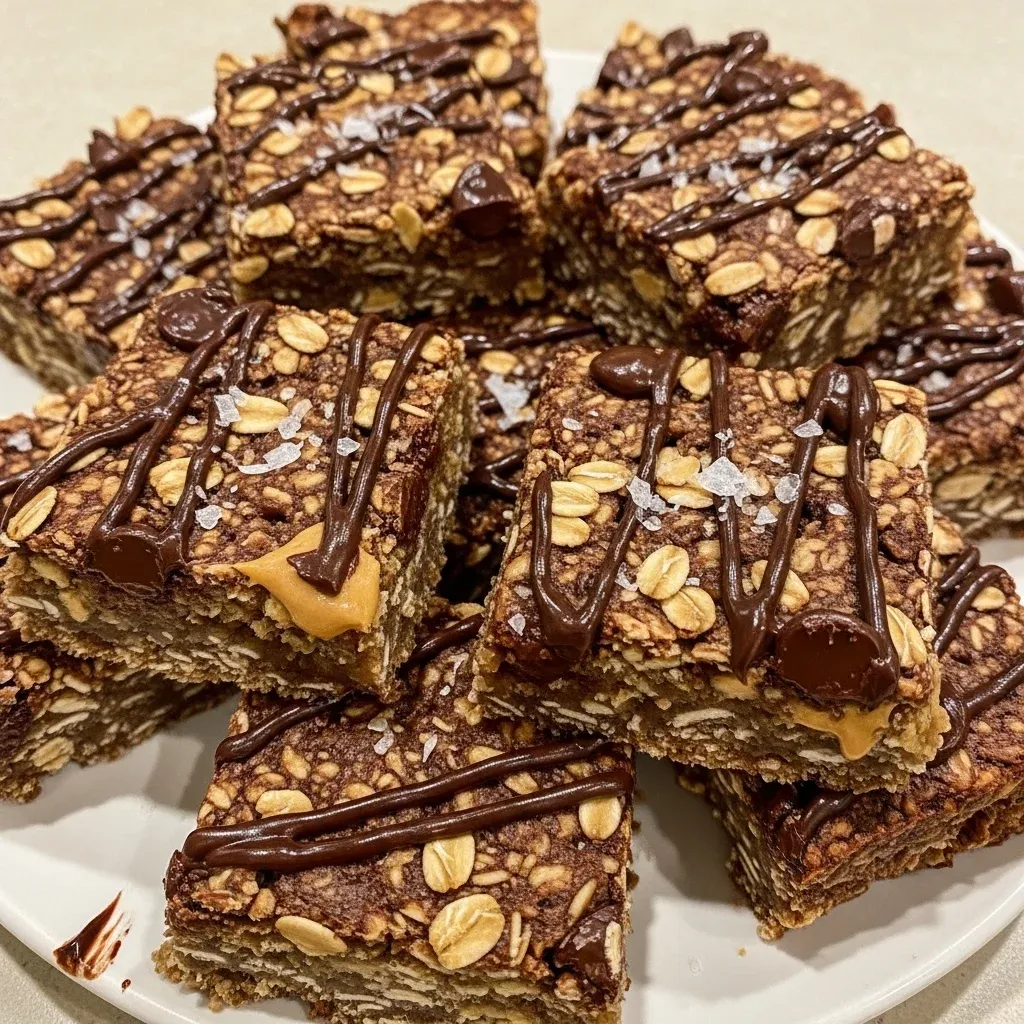
They are chewy, decadent, and incredibly satisfying. Trust me, once you try these Chocolate Protein Bars, you will never want to go back to the boxed version again.
Why You’ll Love These Homemade Chocolate Protein Bars
You will absolutely adore these Chocolate Protein Bars for so many reasons. First and foremost, the flavor is incredible. Many store-bought protein bars have a chalky texture or a weird medicinal aftertaste.
In contrast, these Chocolate Protein Bars taste like a rich brownie but offer the nutritional profile of a balanced meal. They satisfy that chocolate craving instantly while providing lasting energy. Secondly, this recipe requires no baking.
On a hot summer day or a busy weeknight, the last thing I want to do is turn on the oven. You simply mix, press, and chill. Consequently, you save time and energy while still producing a high-quality snack.
Another reason to love these Chocolate Protein Bars is the cost-effectiveness. Buying individual protein bars at the grocery store can quickly drain your budget, especially if you have a large family like mine. By making a batch of Chocolate Protein Bars at home, you save a significant amount of money over time.
Additionally, this recipe is incredibly versatile. You can tweak the ingredients based on what you have in your pantry. Most importantly, these Chocolate Protein Bars provide a sense of security.
You know they are free from artificial dyes, high fructose corn syrup, and hydrogenated oils. They are pure, simple, and full of love. My kids think they are getting a dessert, and I know they are getting the protein their growing bodies need. It truly is a win-win situation for everyone involved.
Ingredients You’ll Need
Creating these Chocolate Protein Bars requires only a handful of pantry staples. I bet you already have most of these ingredients in your kitchen right now. I focus on using whole foods that provide maximum nutrition.
For instance, we use old-fashioned rolled oats as the base. Oats provide essential fiber and help give the Chocolate Protein Bars their signature chewy texture. We also use a high-quality protein powder.
I usually reach for a chocolate whey or plant-based protein to double down on that cocoa flavor. This ensures every bar is packed with the building blocks your body needs for muscle repair and satiety.
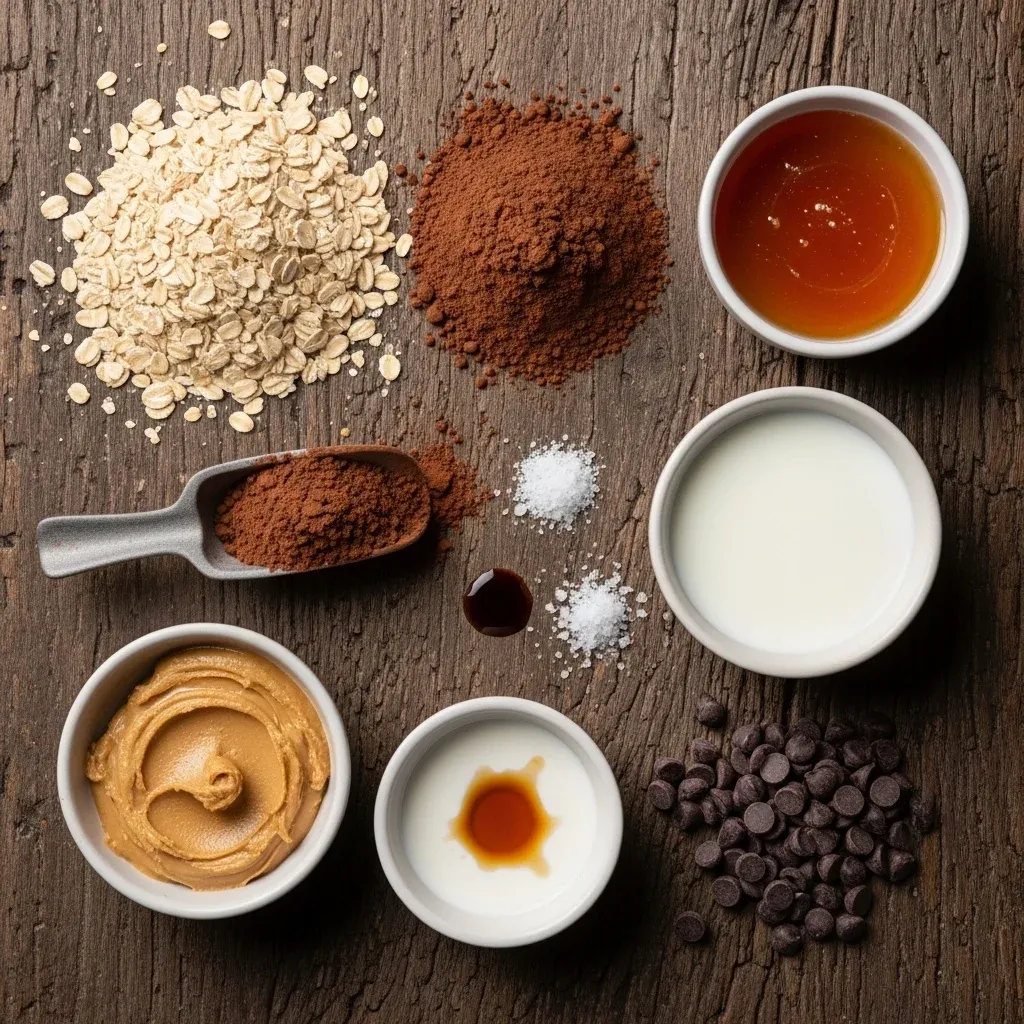
To bind everything together, we use natural nut butter and a liquid sweetener. Almond butter or peanut butter works beautifully here. These healthy fats are crucial for brain health and keeping you full longer.
For sweetness, I prefer raw honey or pure maple syrup. These natural sweeteners add a depth of flavor that white sugar simply cannot match. Finally, we add a splash of vanilla extract and a pinch of sea salt to elevate all the other flavors.
These small additions make the Chocolate Protein Bars taste professional and gourmet. Use the table below to check your pantry before you start.
| Ingredient | Quantity | Purpose |
|---|---|---|
| Old Fashioned Rolled Oats | 2 Cups | Provides fiber and structure |
| Chocolate Protein Powder | 1 Cup | Adds protein and base flavor |
| Natural Peanut or Almond Butter | 1/2 Cup | Healthy fats and binding agent |
| Honey or Maple Syrup | 1/3 Cup | Natural sweetness |
| Unsweetened Cocoa Powder | 1/4 Cup | Extra chocolate richness |
| Milk (Dairy or Plant-based) | 1/4 – 1/2 Cup | Adjusts consistency |
| Dark Chocolate Chips | 1/3 Cup | Added texture and indulgence |
| Vanilla Extract | 1 Teaspoon | Enhances flavor profile |
| Sea Salt | 1/4 Teaspoon | Balances the sweetness |
Substitutions & Variations
One of the best things about these Chocolate Protein Bars is how easily you can customize them. If you have a nut allergy in the house, simply swap the peanut butter for sunflower seed butter. It works perfectly and keeps the Chocolate Protein Bars safe for school lunches.
If you are following a vegan lifestyle, use maple syrup instead of honey and choose a high-quality pea or soy protein powder. These small changes do not compromise the delicious taste of the Chocolate Protein Bars at all. You can also experiment with different types of oats. While I prefer rolled oats, quick oats will yield a softer, denser bar.
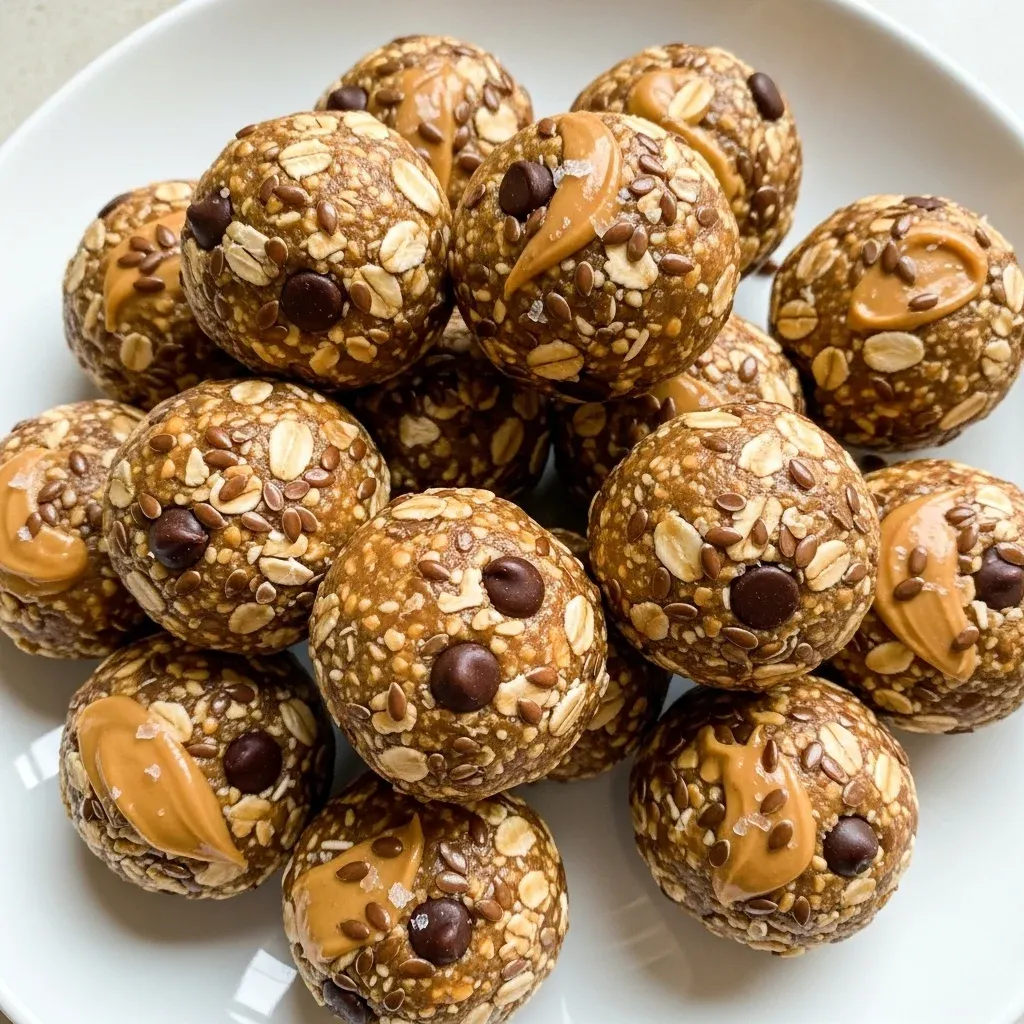
Feel free to get creative with your add-ins as well. Sometimes, I toss in a tablespoon of chia seeds or ground flaxseeds for an extra boost of Omega-3 fatty acids. If you like a bit of crunch, fold in some chopped walnuts or slivered almonds.
For those who enjoy a “salty-sweet” combination, sprinkle extra flaky sea salt on top of the Chocolate Protein Bars before they set. You can even change the flavor profile entirely by using vanilla protein powder and adding dried cranberries. However, the classic Chocolate Protein Bars remain the most requested version in my home. No matter how you choose to vary the recipe, the foundational method remains the same, ensuring success every time you head to the kitchen.
If you love the versatility of these bars, you’ll be delighted by how easy it is to incorporate other nutritious ingredients into your treats. For another delicious and protein-packed snack that combines creamy goodness with classic flavors, try our irresistible Cottage Cheese Chocolate PB recipe.
Step-by-Step Instructions
Making these Chocolate Protein Bars is a straightforward process that takes less than fifteen minutes of active work. First, find a large mixing bowl. You want enough space to stir vigorously without making a mess.
Combine your dry ingredients first. This includes the rolled oats, protein powder, cocoa powder, and that little pinch of sea salt. Use a whisk to break up any clumps in the protein powder.
This step is vital because it ensures an even distribution of flavor throughout the Chocolate Protein Bars. If you skip this, you might end up with a pocket of dry powder in one of your bars.
Note: This video is for demonstration purposes and may use a slightly different method.
Next, it is time to add the wet ingredients. Measure out your nut butter and sweetener. If your nut butter is a bit stiff, microwave it for 20 seconds to make it pourable.
Add the vanilla extract and the initial 1/4 cup of milk. Start stirring the mixture with a sturdy spatula. At first, it might seem too dry, but keep working it.
If the dough remains crumbly after a minute of mixing, add more milk one tablespoon at a time. You want a thick, slightly sticky dough that holds together when pressed. Once the dough is ready, fold in your chocolate chips.
Finally, line an 8×8 inch baking pan with parchment paper. Press the Chocolate Protein Bars mixture firmly into the pan. Use the back of a spoon to smooth it out into an even layer.
Place the pan in the refrigerator for at least two hours to let the bars set completely. Once firm, lift the parchment paper out and slice them into rectangular Chocolate Protein Bars.
Pro Tips for Success
To ensure your Chocolate Protein Bars turn out perfectly every time, I have a few “mom secrets” to share. First, always use parchment paper. It makes removing the bars from the pan so much easier.
If you don’t have parchment, the mixture might stick, and you will end up with “protein crumbles” instead of bars. Second, pay close attention to the texture of your dough. Different protein powders absorb liquid differently.
A whey protein might require less milk than a plant-based protein. Always add your liquid slowly. You can always add more, but you can’t take it away once the Chocolate Protein Bars become too mushy.
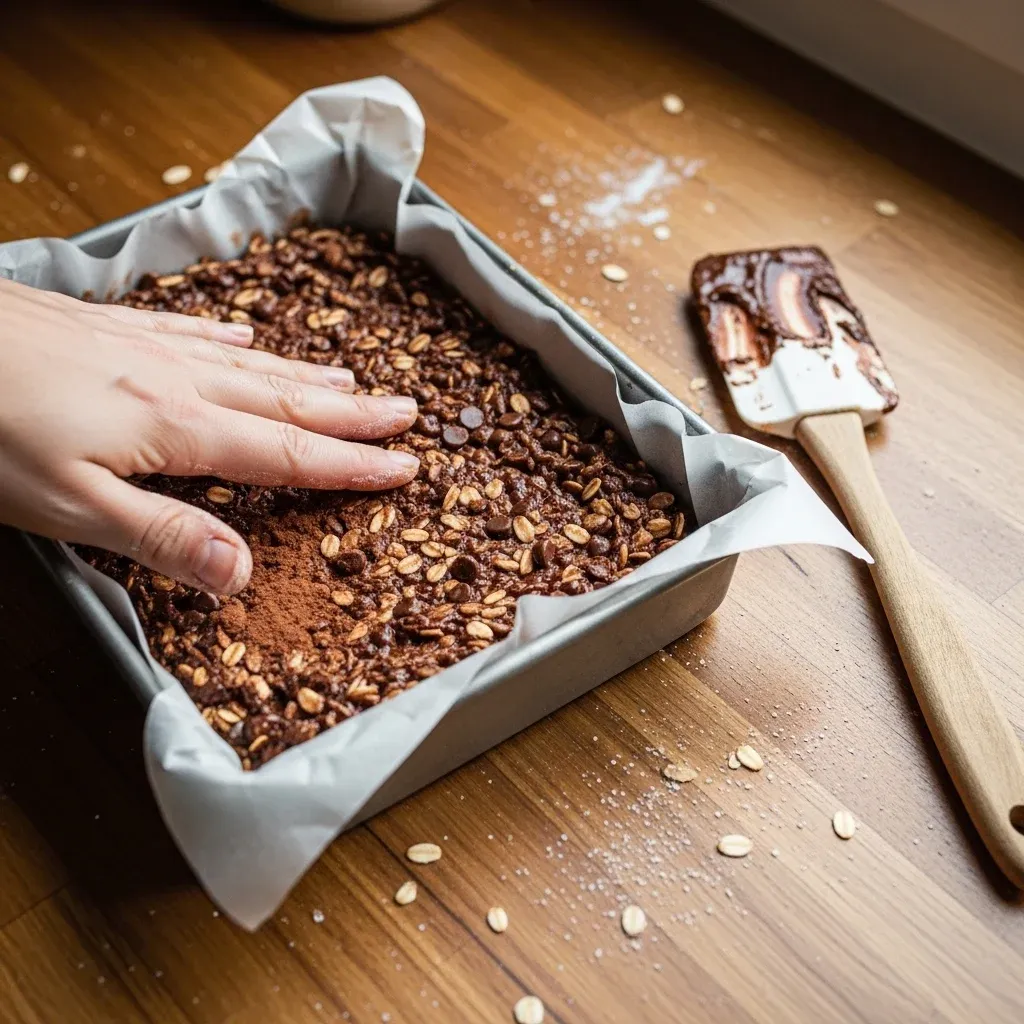
Third, press the mixture down as firmly as possible. I often use the bottom of a flat glass to really pack the dough into the corners of the pan. This density is what keeps the Chocolate Protein Bars from falling apart when you take a bite.
Fourth, don’t rush the chilling process. While it is tempting to slice them immediately, the oats need time to hydrate and the fats need time to solidify. If you cut them too early, the Chocolate Protein Bars will be quite soft.
Lastly, keep your hands slightly damp when pressing the dough. This prevents the sticky mixture from clinging to your fingers, making the process much cleaner and faster. These small tips transform a good recipe into a professional-grade snack.
Mastering the perfect texture for your protein bars ensures a delightful outcome, much like how precise blending creates an ideal smoothie. If you’re looking for another simple yet effective way to boost your protein intake with a smooth, delicious drink, consider whipping up a Cottage Cheese Smoothie.
Storage & Reheating Tips
Proper storage is key to maintaining the freshness of your Chocolate Protein Bars. Because these bars contain no preservatives, they shouldn’t sit on the counter for too long. I recommend storing them in an airtight container in the refrigerator.
They will stay fresh and chewy for up to two weeks. Cold Chocolate Protein Bars actually have a wonderful, fudge-like texture that my kids absolutely love. If you prefer a softer bar, you can let it sit at room temperature for about ten minutes before eating. The nut butter will soften slightly, giving it a more traditional texture.
For long-term storage, these Chocolate Protein Bars freeze beautifully. I often make a double batch and freeze half. Wrap each bar individually in plastic wrap or parchment paper, then place them all in a freezer-safe bag.
They will last for up to three months in the freezer. When you are ready to eat one, just grab it and go. It will thaw in your bag or lunchbox by the time snack time rolls around.
You generally don’t need to reheat these Chocolate Protein Bars, as they are designed to be a cold or room-temperature snack. However, if you want a warm treat, a quick 10-second zap in the microwave makes them taste like a freshly baked brownie. Just be careful not to overheat them, or they may become too dry.
What to Serve With This Recipe
While these Chocolate Protein Bars are a complete snack on their own, you can certainly pair them with other items for a fuller meal. For a quick breakfast, I love serving a bar alongside a hot cup of coffee or a latte. The bitterness of the coffee perfectly complements the sweetness of the Chocolate Protein Bars.
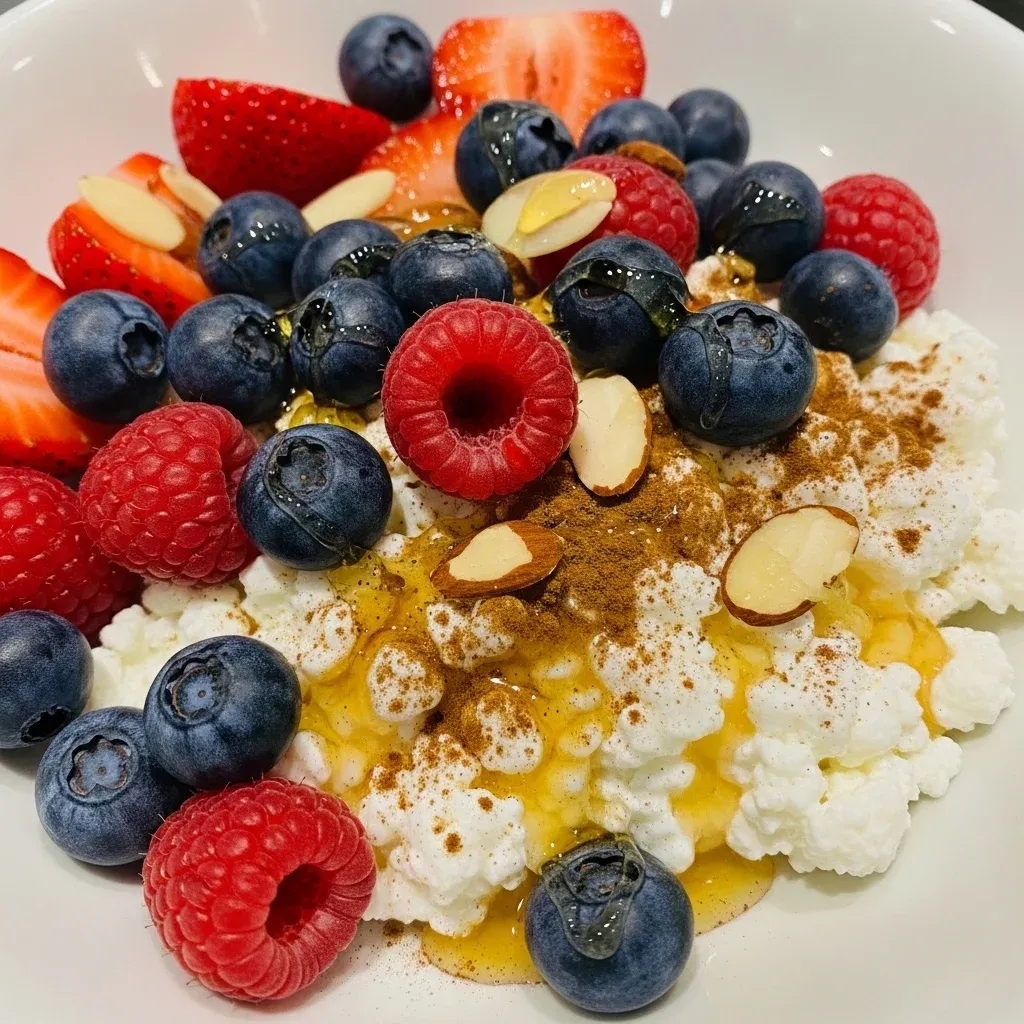
If I’m serving these to my kids after school, I usually provide a side of fresh fruit. Sliced strawberries or a handful of raspberries add a nice tartness that cuts through the rich chocolate flavor. It makes the snack feel more like a balanced mini-meal.
If you are using these Chocolate Protein Bars as a post-workout recovery snack, consider pairing them with a glass of milk or a dairy-free alternative. This adds even more protein and calcium to your routine. For a more indulgent “dessert” feel, you can crumble one of the Chocolate Protein Bars over a bowl of Greek yogurt.
Add a drizzle of honey and a few extra nuts for a high-protein parfait. No matter how you serve them, these Chocolate Protein Bars provide a satisfying and delicious experience. They are versatile enough to fit into any part of your day, from the early morning rush to a late-night craving. Having a batch of Chocolate Protein Bars ready in the fridge means you always have a healthy option at your fingertips.
These Chocolate Protein Bars are fantastic on their own, but they also complement other healthy additions to create a more substantial meal or snack. For another adaptable and protein-rich option that can be customized with various toppings for any time of day, explore the possibilities of a delicious Cottage Cheese Bowl.
FAQs
Can I use whey protein powder for these bars?
Yes, absolutely! Whey protein works very well in Chocolate Protein Bars. Just keep in mind that whey tends to be less absorbent than plant-based proteins.
You might need slightly less milk to achieve the right consistency. Start with a small amount and increase it until the dough holds together.
Are these Chocolate Protein Bars gluten-free?
These Chocolate Protein Bars are gluten-free as long as you use certified gluten-free oats. While oats are naturally gluten-free, they are often processed in facilities that handle wheat. Always check the label if you have a strict dietary requirement or sensitivity.
Why are my protein bars falling apart?
If your Chocolate Protein Bars are crumbly, they likely need more moisture or more pressure. Make sure you pressed the mixture firmly into the pan. If they still fall apart, try adding a tablespoon more of nut butter or honey next time. Also, ensure they have chilled long enough in the fridge to set properly.
How much protein is in each bar?
Each of these Chocolate Protein Bars contains approximately 10 to 12 grams of protein, depending on the specific brand of protein powder and nut butter you use. This makes them a substantial snack that effectively helps meet your daily protein goals.
Chocolate protein bars are a popular convenient food choice for many seeking a quick and nutritious snack. Designed to provide a significant boost of protein, often combined with carbohydrates and healthy fats, these bars cater to athletes, busy individuals, and anyone looking to supplement their diet. As a type of protein bar, they offer a practical way to manage hunger and support muscle recovery, making them a staple in many wellness routines.
Nutrition Information (per serving)
Understanding the nutritional breakdown of your snacks helps you stay on track with your health goals. These Chocolate Protein Bars are designed to be nutrient-dense. They provide a healthy balance of macronutrients without the empty calories found in many processed snacks. This table provides an estimate for one bar, assuming the batch is cut into 10 equal servings.
| Nutrient | Amount Per Serving |
|---|---|
| Calories | 210 kcal |
| Protein | 12g |
| Total Fat | 9g |
| Saturated Fat | 2g |
| Carbohydrates | 22g |
| Fiber | 4g |
| Sugar | 8g |
| Sodium | 110mg |
Enjoying these Chocolate Protein Bars is a great way to fuel your body with love and nutrition. I hope your family enjoys them as much as mine does! Remember, healthy eating doesn’t have to be complicated or expensive.
With a few simple ingredients and a little bit of time, you can create delicious Chocolate Protein Bars that everyone will request again and again. Happy snacking!
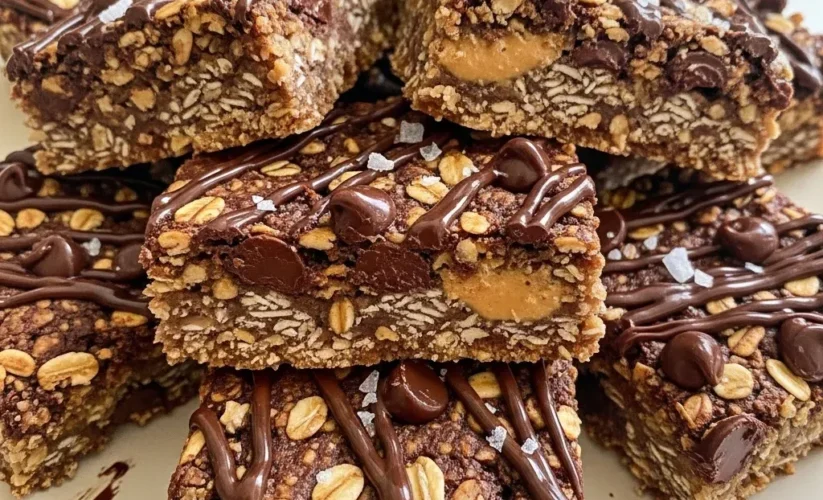
PrintChocolate Protein Bars
These homemade Chocolate Protein Bars are a healthy, no-bake snack perfect for busy families. They are chewy, decadent, and provide a balanced combination of complex carbohydrates, healthy fats, and high-quality protein, tasting like a rich brownie without the preservatives or excessive sugars found in commercial brands. They are versatile, cost-effective, and provide lasting energy.
- Prep Time: 15 mins
- Cook Time: 0 mins
- Total Time: 2 hours 15 mins
- Yield: 10 servings
- Category: Snack
- Method: No-Bake, Chill
- Cuisine: American
- Diet: Gluten Free, Vegan Option
Ingredients
2 Cups Old Fashioned Rolled Oats
1 Cup Chocolate Protein Powder
1/2 Cup Natural Peanut or Almond Butter
1/3 Cup Honey or Maple Syrup
1/4 Cup Unsweetened Cocoa Powder
1/4 Cup Milk (Dairy or Plant-based)
1/3 Cup Dark Chocolate Chips
1 Teaspoon Vanilla Extract
1/4 Teaspoon Sea Salt
Instructions
- Find a large mixing bowl. Combine your dry ingredients first: rolled oats, protein powder, cocoa powder, and sea salt. Use a whisk to break up any clumps in the protein powder to ensure even distribution of flavor
- Next, add the wet ingredients. Measure out your nut butter and sweetener. If your nut butter is stiff, microwave it for 20 seconds to make it pourable. Add the vanilla extract and the initial 1/4 cup of milk
- Start stirring the mixture with a sturdy spatula. At first, it might seem too dry, but keep working it. If the dough remains crumbly after a minute of mixing, add more milk one tablespoon at a time until you achieve a thick, slightly sticky dough that holds together when pressed
- Once the dough is ready, fold in your chocolate chips
- Line an 8×8 inch baking pan with parchment paper. Press the protein bar mixture firmly into the pan. Use the back of a spoon or a flat glass to smooth it out into an even layer
- Place the pan in the refrigerator for at least two hours to let the bars set completely
- Once firm, lift the parchment paper out and slice them into rectangular Chocolate Protein Bars
Notes
For best results, always use parchment paper to easily remove the bars from the pan.
Add liquid (milk, nut butter, honey/maple syrup) slowly, as different protein powders absorb liquid differently. You can always add more, but you can't take it away.
Press the mixture down as firmly as possible into the pan. This density helps the bars hold their shape.
Do not rush the chilling process. The oats need time to hydrate and the fats need time to solidify for a firm bar.
Keep your hands slightly damp when pressing the dough to prevent the sticky mixture from clinging to your fingers.
To customize for a nut allergy, swap peanut butter for sunflower seed butter.
For a vegan lifestyle, use maple syrup instead of honey and choose a high-quality pea or soy protein powder.
Experiment with add-ins like chia seeds, ground flaxseeds, chopped walnuts, or slivered almonds for extra nutrition or crunch.
Store in an airtight container in the refrigerator for up to two weeks. Cold bars have a wonderful, fudge-like texture.
For long-term storage, wrap each bar individually and freeze for up to three months. Thaw in a lunchbox or at room temperature.
For a warm treat, microwave a bar for 10 seconds; be careful not to overheat to prevent dryness.
Serve alongside coffee, fresh fruit, a glass of milk, or crumbled over Greek yogurt for a fuller meal or indulgent snack.