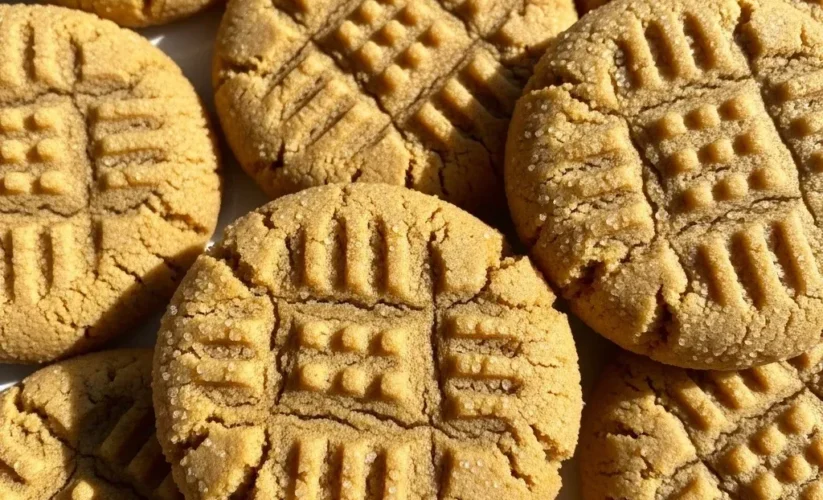
Peanut Butter Cookies
The kitchen clock ticks slowly on rainy Tuesday afternoons, but my home feels warm and alive. As a mom of three energetic kids—Leo, Maya, and little Sam—I have learned that food serves as the ultimate language of love. Nothing speaks that language more clearly than the comforting aroma of Peanut Butter Cookies wafting through the hallways.
I remember standing in my grandmother’s sun-drenched kitchen, watching her press a heavy silver fork into mounds of dough. She always told me that the “criss-cross” pattern was a secret code for “I love you.” Today, I share that same tradition with my own children. We gather around the floured counter, their small hands eager to help.
We don’t just make a snack; we create a memory. These Peanut Butter Cookies represent more than just a sweet treat. They embody the warmth of home and the joy of simple, nourishing ingredients.
Whether it is a quick after-school pick-me-up or a late-night craving, these Peanut Butter Cookies never fail to deliver a smile. My kids know that when I pull a tray of Peanut Butter Cookies out of the oven, the afternoon just got a whole lot better. You can taste the care in every bite of these Peanut Butter Cookies, and I am so excited to bring that same warmth into your kitchen today.
Why You’ll Love This Peanut Butter Cookies Recipe
You will absolutely adore this recipe because it strikes the perfect balance between nostalgia and modern simplicity. First, these Peanut Butter Cookies offer a texture that most recipes miss. They possess a delicate, sandy crunch on the outside while maintaining a soft, melt-in-your-mouth center.
You won’t find any dry, crumbly pucks here. Furthermore, this recipe uses straightforward, wholesome ingredients that you likely already have in your pantry. I focus on nourishing my family, so I appreciate that these Peanut Butter Cookies provide a good dose of protein and healthy fats.
Another reason to love these Peanut Butter Cookies is their versatility. You can whip them up in under thirty minutes, making them the perfect solution for busy weeknights or unexpected guests. My kids love the classic flavor, but even the most sophisticated adults find themselves reaching for a second or third cookie.
This recipe for Peanut Butter Cookies also scales beautifully. You can easily double the batch for a school bake sale or freeze the dough for later use. Finally, the iconic fork marks make these Peanut Butter Cookies look exactly like the ones from your childhood, bringing a sense of comfort and tradition to your modern table.
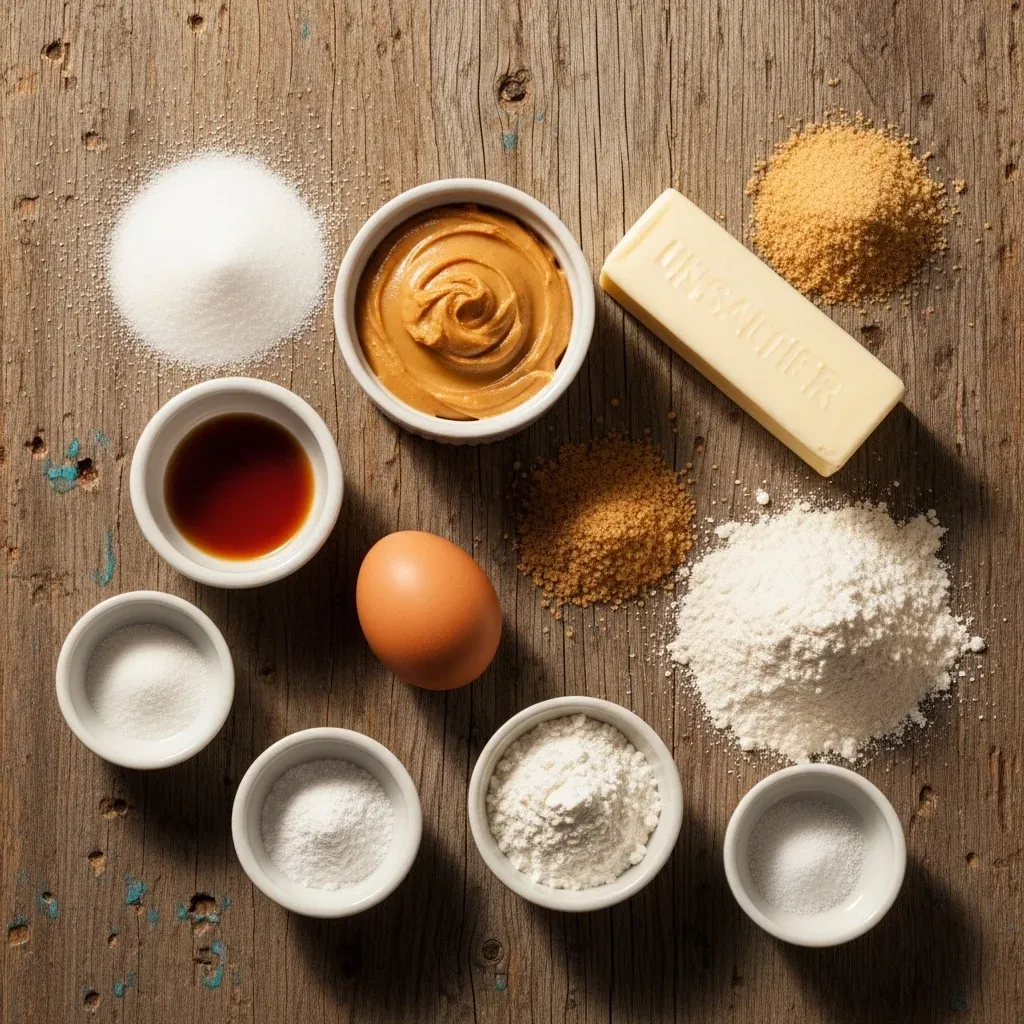
Ingredients You’ll Need
I believe that high-quality ingredients lead to the best results. For these Peanut Butter Cookies, I choose items that provide both flavor and a touch of nourishment. I prefer using creamy peanut butter for a smooth texture, though crunchy works if you like a bit of texture.
Always ensure your butter stays at room temperature to achieve the perfect creaminess. I use a combination of granulated and brown sugar to give the Peanut Butter Cookies a deep, caramel-like sweetness. The addition of a high-quality vanilla extract elevates the nutty profile significantly.
| Ingredient | Amount | Notes |
|---|---|---|
| Creamy Peanut Butter | 1 Cup | Standard commercial brands work best |
| Unsalted Butter | 1/2 Cup (1 stick) | Softened to room temperature |
| Granulated Sugar | 1/2 Cup | Plus extra for rolling |
| Light Brown Sugar | 1/2 Cup | Packed tightly |
| Large Egg | 1 | Room temperature |
| Vanilla Extract | 1 Teaspoon | Pure extract for best flavor |
| All-Purpose Flour | 1 1/2 Cups | Measured by spoon and level method |
| Baking Soda | 3/4 Teaspoon | Ensure it is fresh |
| Baking Powder | 1/2 Teaspoon | Adds a bit of lift |
| Salt | 1/4 Teaspoon | Omit if using salted peanut butter |
Substitutions & Variations
I know every family has different dietary needs, and these Peanut Butter Cookies are quite adaptable. If you have a gluten sensitivity, you can substitute the all-purpose flour with a high-quality 1:1 gluten-free baking blend. I have tried this several times, and the Peanut Butter Cookies still turn out delicious.
For those avoiding dairy, replace the butter with a vegan butter stick or solid coconut oil. If you want to reduce the refined sugar, you can use coconut sugar instead of brown sugar, though the texture of the Peanut Butter Cookies may change slightly.
Furthermore, you can get creative with add-ins. My son Leo loves it when I fold in a half-cup of dark chocolate chips. This transforms the Peanut Butter Cookies into a decadent treat.
You might also consider adding chopped roasted peanuts for an extra crunch. If you want a festive twist, try pressing a chocolate kiss into the center immediately after the Peanut Butter Cookies come out of the oven.
For a healthier profile, you can even swap out a quarter cup of flour for ground flaxseed or oat flour. These small changes allow you to customize the Peanut Butter Cookies to suit your family’s unique tastes while keeping the core flavor intact.
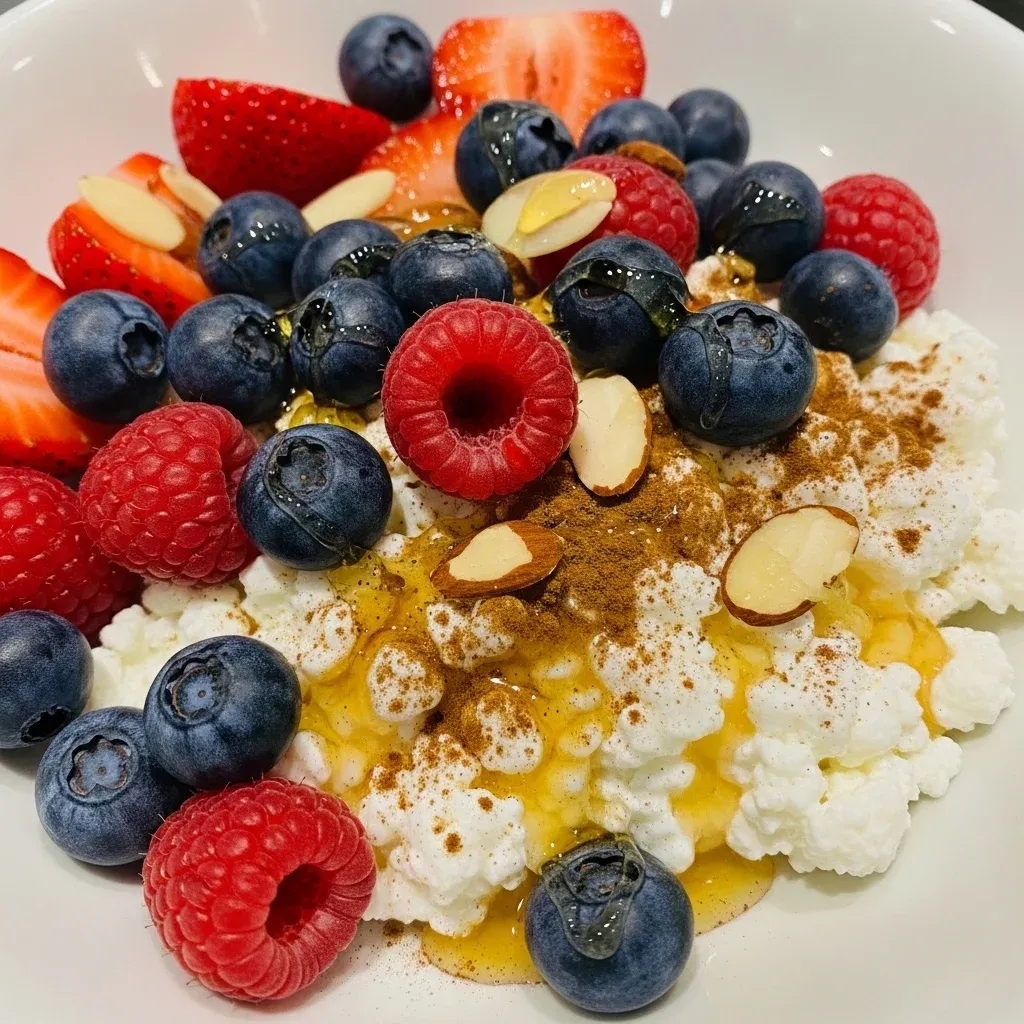
Beyond these cookie adaptations, exploring other healthy and versatile snack options can diversify your family’s menu. For another delightful treat that balances flavor with nutritional needs, consider trying a refreshing Cottage Cheese Berry Bowl.
Step-by-Step Instructions
Follow these simple steps to create the ultimate batch of Peanut Butter Cookies. I recommend involving your children or partner, as the process is quite fun and rewarding.
Note: This video is for demonstration purposes and may use a slightly different method.
- Preheat and Prepare: Start by preheating your oven to 350°F (175°C). Line two large baking sheets with parchment paper or silicone baking mats. This ensures your Peanut Butter Cookies don’t stick and helps them brown evenly.
- Cream the Fats and Sugars: In a large mixing bowl, combine the softened butter, creamy peanut butter, granulated sugar, and brown sugar. Use a hand mixer or stand mixer to beat them together on medium-high speed. Continue until the mixture looks pale and fluffy, which usually takes about 2-3 minutes.
- Add Wet Ingredients: Add the egg and the vanilla extract to the bowl. Beat again until the mixture is fully combined and smooth. Do not overmix at this stage, but ensure the egg is completely incorporated into the Peanut Butter Cookies base.
- Whisk Dry Ingredients: In a separate smaller bowl, whisk together the all-purpose flour, baking soda, baking powder, and salt. Whisking helps aerate the flour and ensures even distribution of the leavening agents throughout your Peanut Butter Cookies.
- Combine: Slowly add the dry ingredients to the wet ingredients. Set your mixer to low speed. Mix just until the flour streaks disappear. If you overwork the dough, your Peanut Butter Cookies might turn out tough.
- Roll the Dough: Scoop about one tablespoon of dough at a time. Roll the dough between your palms to form a 1-inch ball. Place the balls on the prepared baking sheets about 2 inches apart.
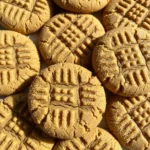
- The Iconic Criss-Cross: Dip a fork into a small bowl of granulated sugar. Press the fork gently into the top of each dough ball to flatten it slightly. Rotate the fork 90 degrees and press again to create the classic Peanut Butter Cookies pattern.
- Bake: Slide the trays into the oven. Bake for 9 to 11 minutes. The Peanut Butter Cookies should look slightly golden around the edges but still appear a bit soft in the center.
- Cool: Let the Peanut Butter Cookies rest on the baking sheet for at least 5 minutes. They need this time to set. Transfer them to a wire rack to cool completely.
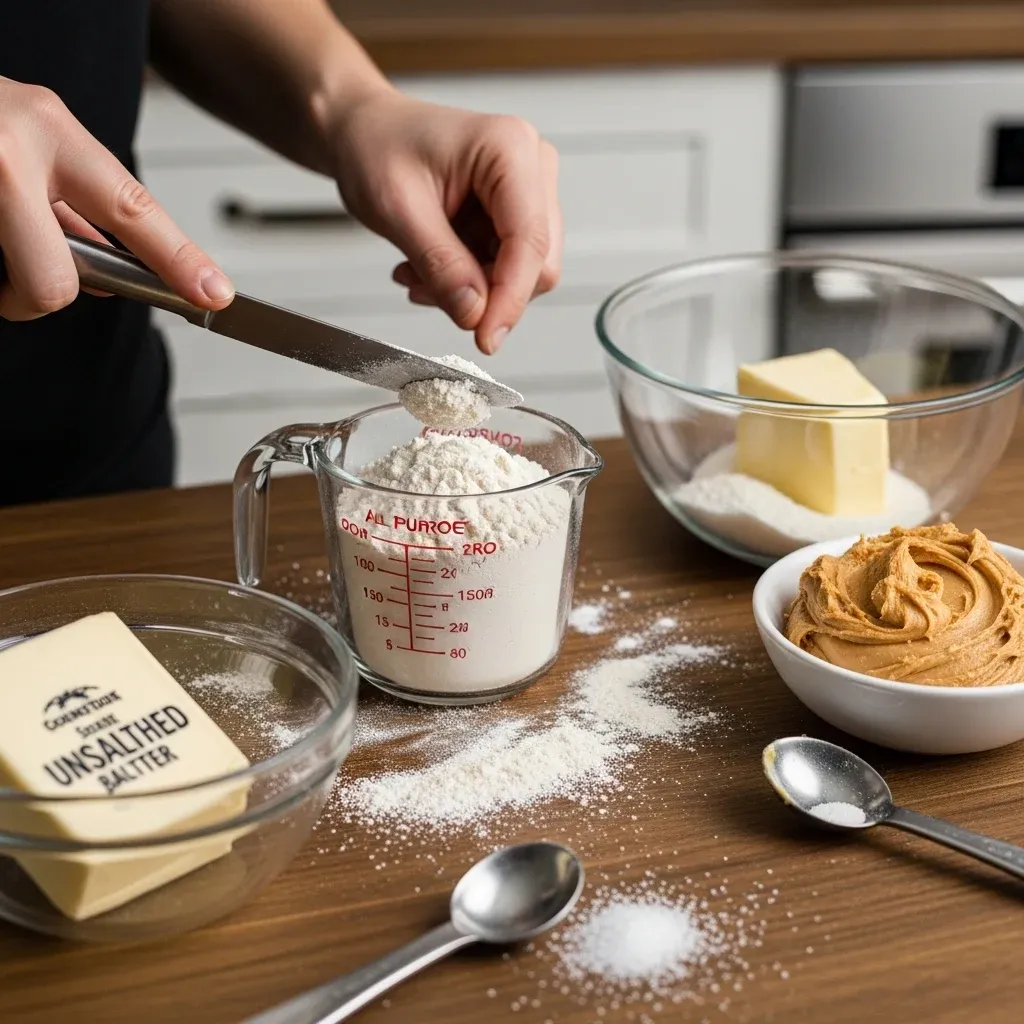
Pro Tips for Success
To ensure your Peanut Butter Cookies turn out perfectly every single time, I have gathered a few “mom-tested” secrets. First, always measure your flour correctly. Instead of scooping the measuring cup directly into the bag, spoon the flour into the cup and level it off with a knife.
This prevents the Peanut Butter Cookies from becoming too dry or dense. Second, use room temperature ingredients. When your egg and butter are at the same temperature as the room, they emulsify much better, creating a superior texture in the finished Peanut Butter Cookies.
Another tip involves the type of peanut butter you choose. For this specific recipe, I recommend using a standard commercial brand like Jif or Skippy. Natural peanut butters that require stirring often contain too much oil.
This extra oil can cause the Peanut Butter Cookies to spread too much or become greasy. If you insist on using natural peanut butter, make sure it is very well-stirred and chilled before use. Additionally, do not overbake!
These Peanut Butter Cookies will continue to firm up as they cool on the hot tray. If they look “done” in the oven, they might actually be overcooked. Pull them out when they still look a little pale for the softest results.
Finally, if you want your Peanut Butter Cookies to have a professional look, try using a cookie scoop to ensure every ball of dough is exactly the same size. This promotes even baking and makes for a beautiful presentation.
Just as small details make a big difference in baking cookies, simple ingredients can create equally delightful and healthy options for any time of day. Try our easy recipe for a nutritious and satisfying Cottage Cheese Smoothie.
Storage & Reheating Tips
You can keep these Peanut Butter Cookies fresh and delicious for several days with proper storage. Place the cooled Peanut Butter Cookies in an airtight container. They will stay soft at room temperature for up to 5 days.
If you want them to last longer, you can store the container in the refrigerator for up to two weeks. However, I find that room temperature maintains the best texture. If you have a large batch, these Peanut Butter Cookies freeze exceptionally well.
Wrap them individually in plastic wrap and place them in a freezer-safe bag. They will stay fresh in the freezer for up to three months.
To enjoy a “fresh-out-of-the-oven” experience, you can easily reheat the Peanut Butter Cookies. Place a cookie on a microwave-safe plate and heat it for about 10-15 seconds. This softens the center and makes the peanut butter flavor pop.
Alternatively, you can warm them in a 300°F oven for 3-5 minutes. If you are baking frozen dough balls, just add 2 minutes to the original baking time. My kids love having warm Peanut Butter Cookies as a surprise in their lunchboxes, so I often pop one in the toaster oven for a moment before they head out the door.
What to Serve With This Recipe
These Peanut Butter Cookies are quite rich, so they pair perfectly with refreshing drinks and light accompaniments. The most classic choice remains a cold glass of whole milk. The creaminess of the milk cuts through the density of the peanut butter beautifully.
For the adults, a hot cup of black coffee or a nutty espresso provides a sophisticated contrast to the sweetness of the Peanut Butter Cookies. If you want to serve these as a more substantial dessert, try crumbling them over a bowl of high-quality vanilla bean ice cream. The combination of cold ice cream and salty-sweet Peanut Butter Cookies is heavenly.
During the autumn months, I love serving these Peanut Butter Cookies alongside a warm mug of apple cider. The spices in the cider complement the roasted nut flavors surprisingly well. For a fun afternoon tea, pair them with a robust black tea or a herbal rooibos.
If you are feeling extra indulgent, you can even make Peanut Butter Cookies sandwiches! Spread a little bit of chocolate ganache or raspberry jam between two cookies for a decadent treat. My kids often enjoy them with a few slices of fresh apple or a handful of grapes to balance the meal with some fresh fruit. No matter how you serve them, these Peanut Butter Cookies will surely be the star of the show.
While these rich cookies make a satisfying treat, sometimes you might want a lighter, protein-packed accompaniment or a wholesome snack for another occasion. For a quick and customizable option that complements any meal or craving, explore our versatile Cottage Cheese Bowl.
FAQs
Can I use natural peanut butter for these cookies?
While you can use natural peanut butter, I don’t recommend it for this specific recipe. Natural varieties often separate, and the excess oil can make the Peanut Butter Cookies spread too thin or become oily. If you do use it, ensure it is thoroughly mixed and slightly chilled.
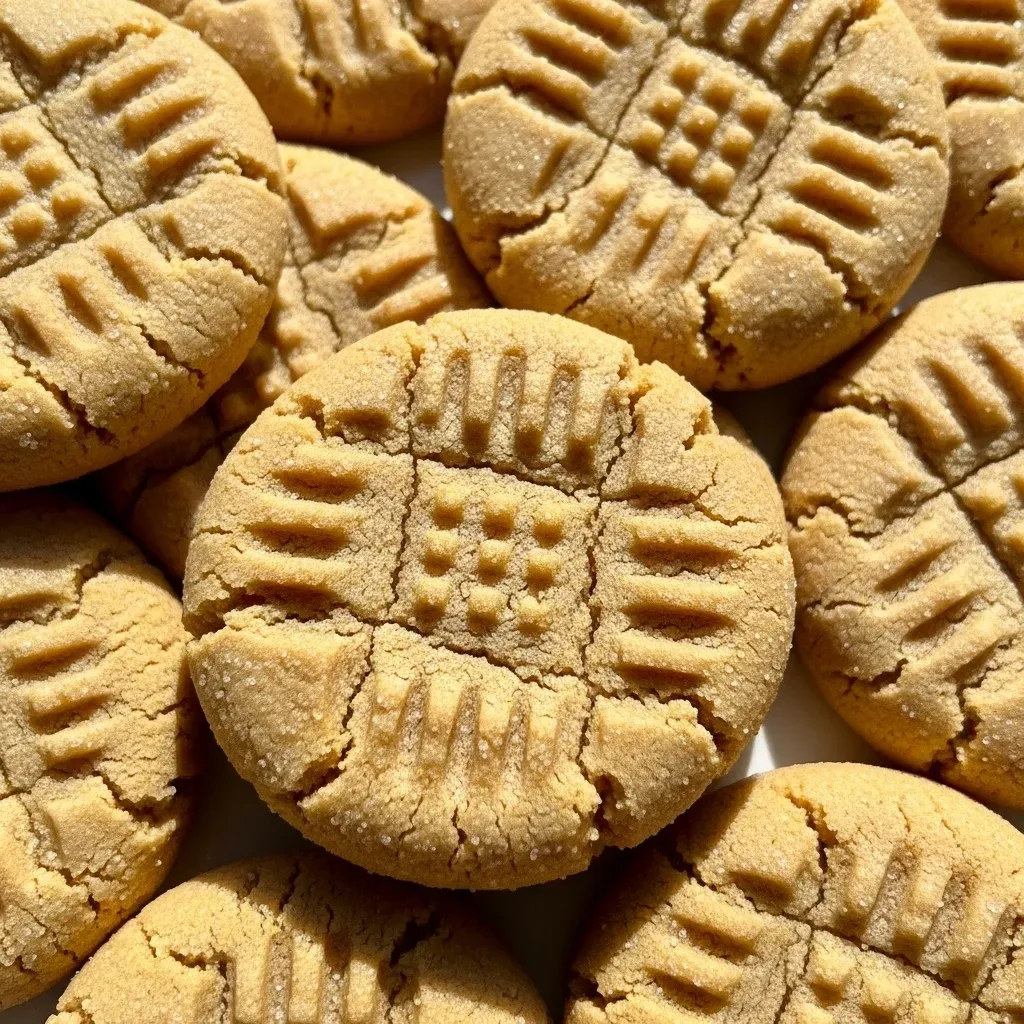
Why do peanut butter cookies have fork marks?
The fork marks serve a functional purpose! Peanut Butter Cookies dough is much denser than chocolate chip cookie dough. The fork tines flatten the dough so the Peanut Butter Cookies bake evenly all the way through. Without the marks, the centers might stay raw while the edges burn.
Can I freeze the dough before baking?
Absolutely! This is a great way to have Peanut Butter Cookies ready at a moment’s notice. Roll the dough into balls and freeze them on a tray.
Once solid, transfer them to a freezer bag. You can bake them directly from the freezer; just add a couple of extra minutes to the bake time.
How do I keep my cookies soft?
The secret to soft Peanut Butter Cookies is avoiding overbaking and storing them with a slice of white bread. The cookies will absorb the moisture from the bread, keeping them perfectly chewy for days. Also, ensure you are using brown sugar, which adds essential moisture.
The distinctive criss-cross pattern on peanut butter cookies is a beloved tradition, often created by pressing a fork onto the dough before baking. These popular treats have a rich history, evolving from early 20th-century recipes that leveraged the growing availability of peanut butter as a staple ingredient in American kitchens.
Nutrition Information (per serving)
I believe in balance, and while these Peanut Butter Cookies are a treat, they do offer some protein from the nuts. Here is the approximate nutritional breakdown for one cookie based on a yield of 24 cookies.
| Nutrient | Amount per Serving |
|---|---|
| Calories | 165 kcal |
| Total Fat | 10g |
| Saturated Fat | 4g |
| Cholesterol | 18mg |
| Sodium | 115mg |
| Total Carbohydrates | 17g |
| Dietary Fiber | 1g |
| Sugars | 10g |
| Protein | 3g |
I hope these Peanut Butter Cookies bring as much joy to your home as they do to mine. Remember, the best ingredient is always the love you fold into the dough. Happy baking!
PrintPeanut Butter Cookies
These Peanut Butter Cookies strike the perfect balance between nostalgia and modern simplicity, offering a delicate, sandy crunch on the outside and a soft, melt-in-your-mouth center. Made with straightforward, wholesome ingredients, they embody the warmth of home and the joy of a comforting, protein-rich treat. Perfect for an after-school pick-me-up or a late-night craving, this recipe delivers a smile with every bite.
- Prep Time: 20 mins
- Cook Time: 10 mins
- Total Time: 30 mins
- Yield: 24 cookies
- Category: Dessert
- Method: Baking
- Cuisine: American
Ingredients
1 Cup Creamy Peanut Butter
1/2 Cup Unsalted Butter
1/2 Cup Granulated Sugar
1/2 Cup Light Brown Sugar
1 Large Egg
1 Teaspoon Vanilla Extract
1 1/2 Cups All-Purpose Flour
3/4 Teaspoon Baking Soda
1/2 Teaspoon Baking Powder
1/4 Teaspoon Salt
Instructions
- Preheat your oven to 350°F (175°C). Line two large baking sheets with parchment paper or silicone baking mats
- In a large mixing bowl, combine the softened butter, creamy peanut butter, granulated sugar, and brown sugar. Use a hand mixer or stand mixer to beat them together on medium-high speed until the mixture looks pale and fluffy, about 2-3 minutes
- Add the egg and the vanilla extract to the bowl. Beat again until the mixture is fully combined and smooth
- In a separate smaller bowl, whisk together the all-purpose flour, baking soda, baking powder, and salt
- Slowly add the dry ingredients to the wet ingredients. Set your mixer to low speed and mix just until the flour streaks disappear. Do not overmix
- Scoop about one tablespoon of dough at a time. Roll the dough between your palms to form a 1-inch ball. Place the balls on the prepared baking sheets about 2 inches apart
- Dip a fork into a small bowl of granulated sugar. Press the fork gently into the top of each dough ball to flatten it slightly. Rotate the fork 90 degrees and press again to create the classic criss-cross patter
- Slide the trays into the oven. Bake for 9 to 11 minutes, until the cookies look slightly golden around the edges but still appear a bit soft in the center
- Let the cookies rest on the baking sheet for at least 5 minutes to set. Transfer them to a wire rack to cool completely
Notes
For best results, measure flour correctly by spooning it into the cup and leveling it off with a knife. This prevents the cookies from becoming too dry or dense.
Ensure all ingredients, especially butter and egg, are at room temperature for superior texture and emulsification.
Use standard commercial creamy peanut butter (like Jif or Skippy) as natural peanut butters (that require stirring) can lead to cookies spreading too much or becoming greasy. If using natural peanut butter, ensure it is very well-stirred and chilled.
Avoid overbaking; the cookies will continue to firm up as they cool on the hot tray. Pull them out when they still look a little pale for the softest results.
For professional-looking, evenly baked cookies, use a cookie scoop to ensure all dough balls are the same size.
Store cooled cookies in an airtight container at room temperature for up to 5 days, or in the refrigerator for up to two weeks. They freeze exceptionally well for up to three months.
To reheat, microwave a cookie for 10-15 seconds or warm in a 300°F oven for 3-5 minutes. Bake frozen dough balls by adding 2 minutes to the original bake time.
**Substitutions & Variations:** For gluten sensitivity, use a high-quality 1:1 gluten-free baking blend. For dairy-free, replace butter with a vegan butter stick or solid coconut oil. Reduce refined sugar by using coconut sugar instead of brown sugar (texture may change slightly).
Consider add-ins like 1/2 cup dark chocolate chips, chopped roasted peanuts, or a chocolate kiss pressed into warm cookies. For a healthier profile, swap out 1/4 cup of flour for ground flaxseed or oat flour.
To keep cookies soft for longer, store them with a slice of white bread, which helps absorb moisture.