Protein Popsicles
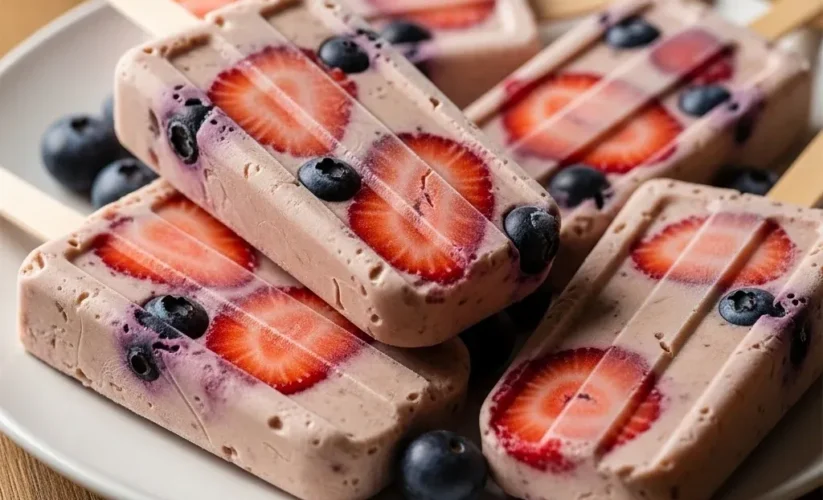
On those sweltering July afternoons in our backyard, I often find my three kids raiding the freezer for something cold. As a mom, I want to give them more than just sugar and water. That is exactly how these Protein Popsicles became a staple in our home.
I believe food is love, and nothing says “I love you” like a nourishing treat that tastes like a decadent dessert. These Protein Popsicles bridge the gap between a post-workout recovery snack and a kid-approved refreshment. I clearly remember the first time I made them.
The kids didn’t even realize they were eating a blend of Greek yogurt and high-quality protein. They just saw bright colors and felt the icy relief on a hot day. Now, these Protein Popsicles are the most requested snack in our household.
Whether we are coming back from a dusty soccer practice or just lounging on the back porch, a batch of Protein Popsicles makes everything better. I love how simple they are to whip up during a busy morning. You don’t need fancy kitchen equipment.
You only need a few wholesome ingredients and a little bit of patience while they freeze. Transitioning from store-bought snacks to homemade Protein Popsicles changed our summer routine for the better. We save money, we control the sugar, and we boost our daily protein intake effortlessly.
These treats represent my philosophy of simple, nourishing food that brings the family together. Let me show you how these Protein Popsicles can transform your freezer into a goldmine of healthy options.
Why You’ll Love This Protein Popsicles Recipe
You will absolutely adore these Protein Popsicles because they offer a guilt-free way to satisfy a sweet tooth. Many store-bought frozen treats contain high-fructose corn syrup and artificial dyes. In contrast, these Protein Popsicles rely on natural sweeteners and real fruit.
You get a massive protein boost in every bite, which helps keep you full and satisfied between meals. This recipe specifically targets busy parents who need quick solutions. You can prep a dozen Protein Popsicles in less than ten minutes. Once they are in the freezer, your work is done.
Furthermore, the texture of these Protein Popsicles is incredibly creamy. Unlike ice pops that feel like flavored ice cubes, these have a rich, velvet-like consistency. This happens because the Greek yogurt and protein powder create a dense base.
Athletes love these Protein Popsicles too. They serve as a perfect post-run cool down that aids muscle recovery. Moreover, kids find them exciting.
You can even let the little ones help you pour the mixture into the molds. Creating Protein Popsicles together makes for a wonderful family activity. Finally, this recipe is incredibly versatile. You can adapt these Protein Popsicles to match whatever fruit is currently in season at your local farmer’s market.
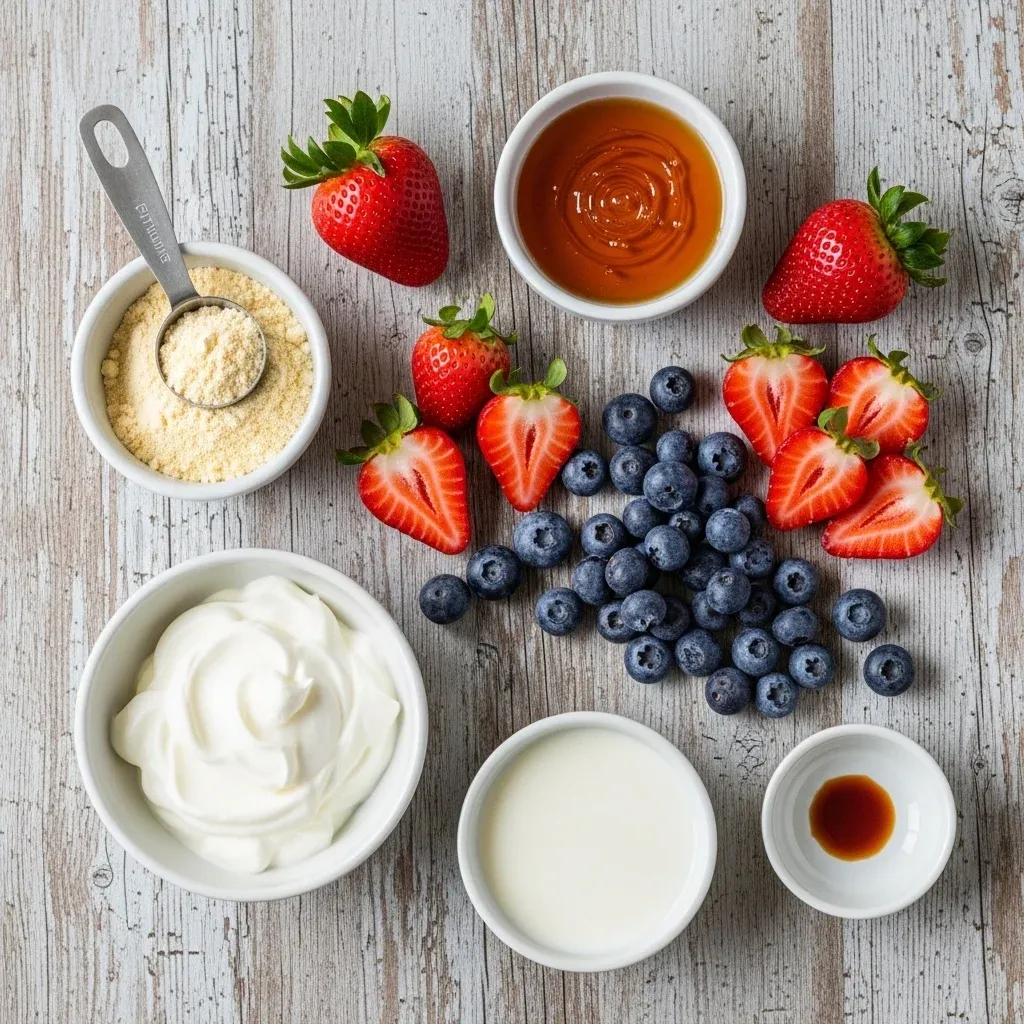
Ingredients You’ll Need
Before you start making your Protein Popsicles, gather your ingredients. Using fresh, high-quality components ensures the best flavor and texture. I prefer using organic Greek yogurt for the extra creaminess it provides. Below is a list of everything you need to create the perfect batch of Protein Popsicles.
| Ingredient | Amount | Purpose |
|---|---|---|
| Full-Fat Greek Yogurt | 2 Cups | Provides a creamy base and probiotics. |
| Vanilla Protein Powder | 2 Scoops | Adds sweetness and muscle-building protein. |
| Fresh Berries (Strawberries/Blueberries) | 1.5 Cups | Adds natural color and antioxidants. |
| Honey or Maple Syrup | 2 Tablespoons | Sweetens the popsicles naturally. |
| Unsweetened Almond Milk | 1/2 Cup | Thins the mixture for easier pouring. |
| Vanilla Extract | 1 Teaspoon | Enhances the overall flavor profile. |
Always choose a protein powder that you enjoy drinking on its own. Since the powder provides a significant portion of the flavor in these Protein Popsicles, quality matters. I usually stick with vanilla or berry flavors to complement the fresh fruit. However, chocolate lovers can easily swap ingredients to make chocolate-peanut butter Protein Popsicles as well.
Substitutions & Variations
You can easily customize these Protein Popsicles to fit your dietary needs or flavor preferences. If you follow a vegan lifestyle, simply swap the Greek yogurt for a thick coconut milk yogurt. Use a plant-based protein powder instead of whey to keep your Protein Popsicles entirely dairy-free.
For a low-carb version, replace the honey with a few drops of liquid stevia or monk fruit sweetener. This adjustment makes the Protein Popsicles suitable for those monitoring their sugar intake closely.
Variations are endless when it comes to fruit choices. Instead of berries, try tropical flavors like mango or pineapple. These fruits create vibrant, sunny Protein Popsicles that taste like a vacation.
If you want a bit of crunch, fold in some mini dark chocolate chips or crushed nuts before freezing. For a “Cookies and Cream” style, use chocolate protein powder and stir in small pieces of cocoa-based wafers. Some people even add a tablespoon of almond butter to their Protein Popsicles for extra healthy fats and a richer taste. No matter what you choose, the core method for these Protein Popsicles remains the same.
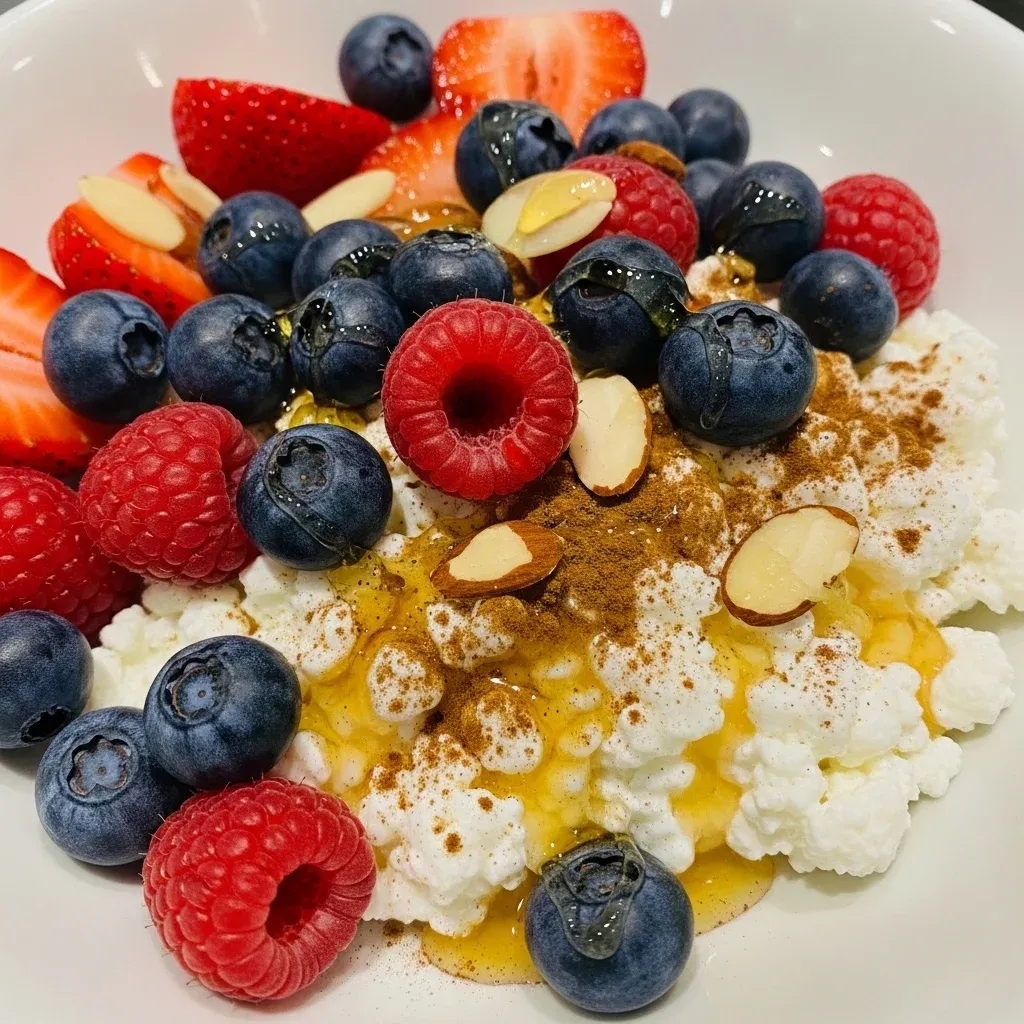
Just like these popsicles, many healthy snacks can be adapted to suit various tastes and dietary requirements. For another refreshing and protein-packed option that’s easy to customize, consider a delightful cottage cheese berry bowl.
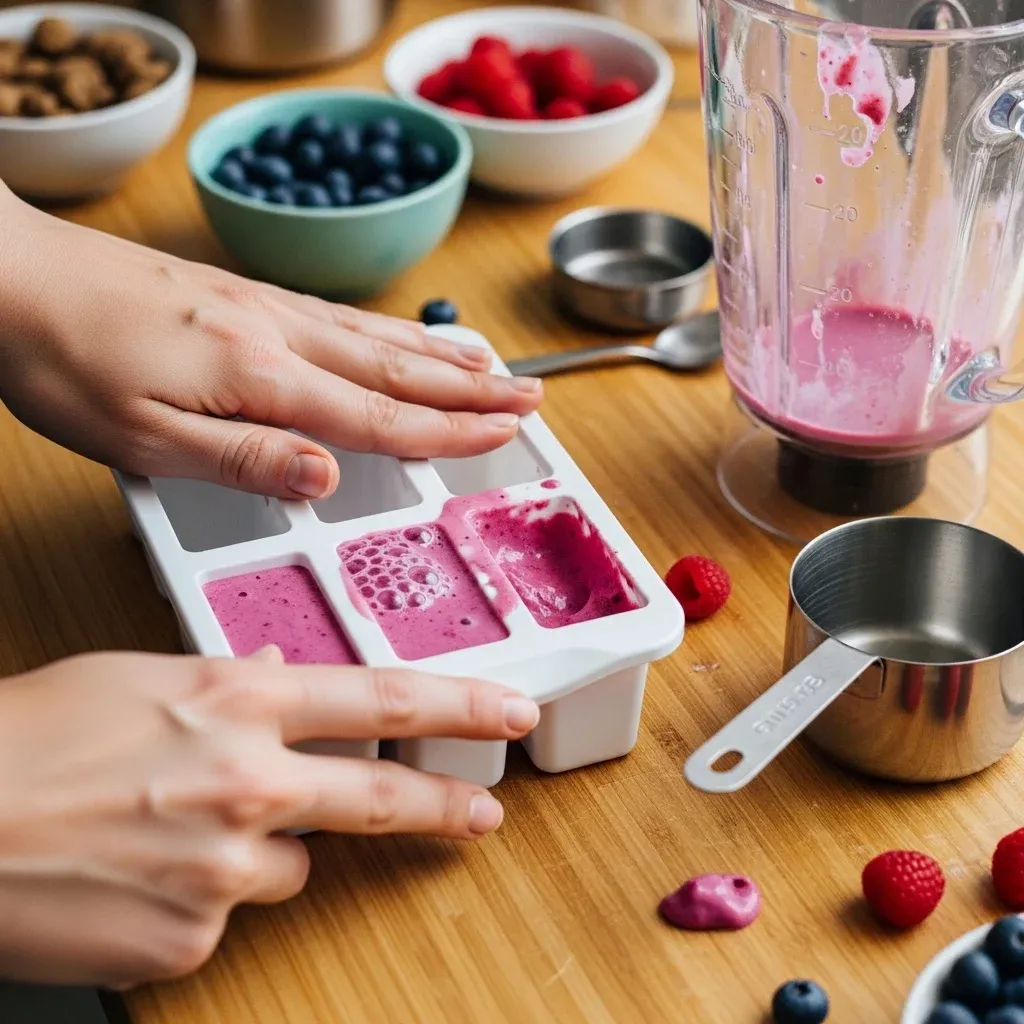
Step-by-Step Instructions
Follow these simple steps to ensure your Protein Popsicles turn out perfectly every time. Consistency is key when blending the ingredients. You want a smooth, pourable liquid that will freeze evenly without large ice crystals forming inside your Protein Popsicles.
Note: This video is for demonstration purposes and may use a slightly different method.
- Prepare the Fruit: Wash your berries thoroughly. If you use strawberries, remove the green stems and slice them into smaller pieces. This ensures the fruit blends easily into the Protein Popsicles base.
- Blend the Base: Place the Greek yogurt, protein powder, almond milk, honey, and vanilla extract into a high-speed blender. Blend on high for 30 seconds until the mixture looks completely smooth.
- Add the Flavor: Add the fresh berries to the blender. Pulse a few times if you want chunks of fruit in your Protein Popsicles. Alternatively, blend on high for another 20 seconds for a uniform, vibrant color.
- Fill the Molds: Carefully pour the mixture into your favorite popsicle molds. Leave about a quarter-inch of space at the top. The Protein Popsicles will expand slightly as they freeze.
- Insert Sticks: Place the lids on the molds and insert the wooden sticks. If your mold doesn’t have a lid, freeze the Protein Popsicles for one hour first, then insert the sticks so they stay upright.
- Freeze: Place the molds in the coldest part of your freezer. Let the Protein Popsicles chill for at least 6 hours, or ideally overnight.
- Unmold: Run the outside of the molds under warm water for 10 seconds to loosen the Protein Popsicles. Gently pull the stick to release your treat.
Pro Tips for Success
To get the best results with your Protein Popsicles, pay attention to the fat content of your yogurt. I highly recommend using full-fat or 2% Greek yogurt. Fat prevents the popsicles from becoming too hard or “icy.” It creates that luxurious mouthfeel we all love in Protein Popsicles.
Also, make sure you taste your mixture before pouring it into the molds. Freezing dulls the sweetness slightly. If the mixture doesn’t taste sweet enough now, your finished Protein Popsicles might taste a bit bland.
If you struggle with air bubbles, gently tap the filled molds on the counter before freezing. This simple trick helps the mixture settle and ensures your Protein Popsicles look professional. Furthermore, if you use a whey-based powder, avoid over-blending at high speeds for too long.
Over-blending can introduce too much air, which might lead to a foamy texture in the Protein Popsicles. Just blend until combined. Lastly, always keep a few extra Protein Popsicles in the back of the freezer for those unexpected “mom, I’m hungry” moments!
Ensuring the right consistency and flavor balance is crucial for any recipe, whether frozen or baked. If you enjoy incorporating dairy for its texture and protein benefits in different forms, you might also love the unique possibilities of cottage cheese baked into savory or sweet dishes.
Storage & Reheating Tips
Proper storage keeps your Protein Popsicles tasting fresh for weeks. Once the popsicles are fully frozen, you can remove them from the molds. Wrap each of the Protein Popsicles individually in parchment paper or plastic wrap.
Place the wrapped treats into a large freezer-safe zip-top bag. This method prevents freezer burn and stops the Protein Popsicles from picking up other odors from the freezer.
You can store these Protein Popsicles for up to three months. However, in my house, they rarely last longer than a week! Obviously, you do not need to reheat these.
If the Protein Popsicles feel too hard straight from the freezer, let them sit on the counter for two minutes. This brief rest allows them to soften just enough to bite into comfortably. Never leave Protein Popsicles in a hot car or direct sunlight, as the yogurt base will melt much faster than traditional water-based popsicles.
What to Serve With This Recipe
While these Protein Popsicles are a fantastic standalone snack, you can turn them into a fun dessert platter. Serve them alongside a bowl of fresh seasonal fruit salad. The contrast between the frozen Protein Popsicles and juicy fresh fruit is delightful.
I also love serving these after a light summer dinner of grilled chicken and greens. They provide the perfect sweet finish without feeling heavy.
For a brunch twist, you can actually crumble one of these Protein Popsicles over a bowl of warm oatmeal. It sounds strange, but the melting yogurt and protein create a delicious sauce for the grains. If you are hosting a backyard party, set out a tray of Protein Popsicles in a bucket of ice.
This keeps them cold while guests mingle. You can even pair them with a glass of sparkling water or a light herbal iced tea for a refreshing afternoon break.
These popsicles are wonderfully versatile, perfect as a light dessert or a refreshing snack. For another easy and protein-rich option that works well for any time of day, consider whipping up a creamy cottage cheese smoothie.
FAQs
Can I use whey protein for these Protein Popsicles?
Yes, you certainly can. Whey protein works exceptionally well in Protein Popsicles because it dissolves easily into the yogurt base. Just ensure you like the flavor of the whey powder you choose. It will provide the primary taste for the entire treat.
How do I make the Protein Popsicles less icy?
To reduce iciness, ensure you use a thick yogurt with some fat content. You can also add a tablespoon of vegetable glycerin or a bit more honey. These ingredients interfere with ice crystal formation, resulting in smoother Protein Popsicles.
Are these Protein Popsicles safe for toddlers?
Generally, these Protein Popsicles are safe for toddlers if they have already started eating dairy and fruit. However, check your protein powder label for caffeine or artificial sweeteners like xylitol. I always use a clean, natural protein powder when sharing Protein Popsicles with my little ones.
Can I make these without a blender?
You can! Simply whisk the yogurt, protein powder, and liquids in a bowl until smooth. If you want fruit, finely chop it and stir it in by hand. Your Protein Popsicles will have a more textured, chunky feel, which many people actually prefer.
Protein popsicles combine the refreshing qualities of a classic frozen treat with the added nutritional benefits of protein. These innovative snacks are designed to support muscle recovery or simply offer a healthier alternative to sugary desserts, often using ingredients like Greek yogurt or protein powder. The development of ice pops as a popular confectionery dates back over a century, continuously evolving to meet changing dietary trends and health consciousness.
Nutrition Information (per serving)
These Protein Popsicles are a nutritional powerhouse. They provide a balanced mix of macronutrients to fuel your body and keep your energy levels stable throughout the day. Below is the estimated nutritional breakdown for one standard-sized popsicle.
| Nutrient | Amount |
|---|---|
| Calories | 110 kcal |
| Total Protein | 12g |
| Total Carbohydrates | 9g |
| Sugars (Natural) | 6g |
| Total Fat | 3g |
| Fiber | 1.5g |
I hope your family enjoys these Protein Popsicles as much as mine does. They truly embody the idea that food is love. By taking a few minutes to prepare these Protein Popsicles, you are providing your loved ones with a treat that nourishes their bodies and brings joy to their day. Keep a batch of Protein Popsicles ready in the freezer, and you will always have a healthy answer to those summer cravings!
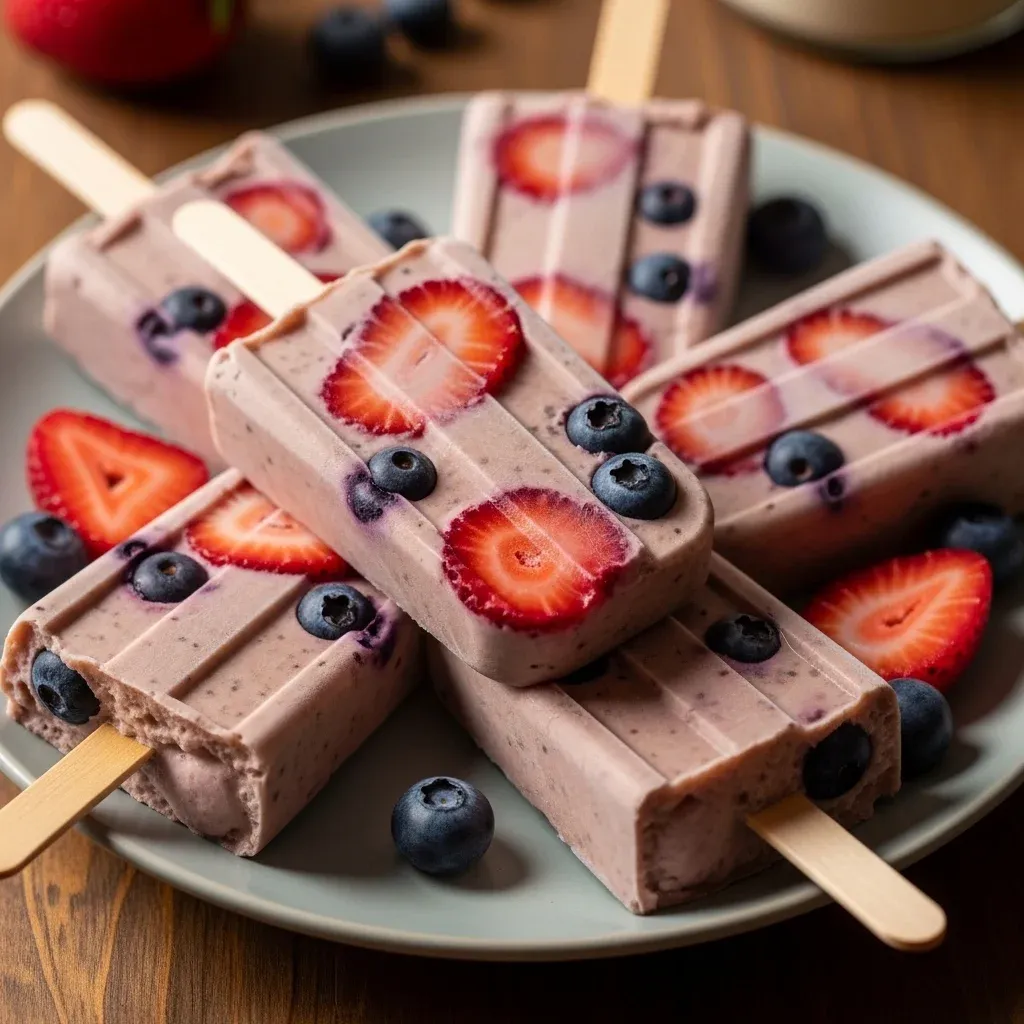
PrintProtein Popsicles
These Protein Popsicles are a healthy, creamy, and kid-approved snack that doubles as a post-workout treat. Made with Greek yogurt, protein powder, and fresh fruit, they are quick to prepare, naturally sweetened, and offer a significant protein boost without artificial ingredients. They have a rich, velvet-like consistency and are incredibly versatile for flavor variations.
- Prep Time: 10 mins
- Cook Time: 0 mins
- Total Time: 6 hours 10 mins
- Yield: 12 servings
- Category: Snack
- Method: Freezing
- Cuisine: American
- Diet: Gluten Free
Ingredients
2 Cups Full-Fat Greek Yogurt
2 Scoops Vanilla Protein Powder
1.5 Cups Fresh Berries (Strawberries/Blueberries)
2 Tablespoons Honey or Maple Syrup
1/2 Cup Unsweetened Almond Milk
1 Teaspoon Vanilla Extract
Instructions
- Wash your berries thoroughly. If you use strawberries, remove the green stems and slice them into smaller pieces
- Place the Greek yogurt, protein powder, almond milk, honey, and vanilla extract into a high-speed blender. Blend on high for 30 seconds until the mixture looks completely smooth
- Add the fresh berries to the blender. Pulse a few times if you want chunks of fruit. Alternatively, blend on high for another 20 seconds for a uniform, vibrant color
- Carefully pour the mixture into your favorite popsicle molds. Leave about a quarter-inch of space at the top
- Place the lids on the molds and insert the wooden sticks. If your mold doesn't have a lid, freeze the popsicles for one hour first, then insert the sticks so they stay upright
- Place the molds in the coldest part of your freezer. Let the popsicles chill for at least 6 hours, or ideally overnight
- Run the outside of the molds under warm water for 10 seconds to loosen the popsicles. Gently pull the stick to release your treat
Notes
Use full-fat or 2% Greek yogurt to prevent iciness and ensure a luxurious mouthfeel.
Taste the mixture before freezing, as freezing dulls sweetness slightly.
Gently tap filled molds on the counter to remove air bubbles.
Avoid over-blending whey-based powder to prevent a foamy texture.
Wrap each popsicle individually in parchment paper or plastic wrap and store in a freezer-safe zip-top bag to prevent freezer burn.
Popsicles can be stored for up to three months.
If too hard, let sit on the counter for two minutes to soften slightly before eating.