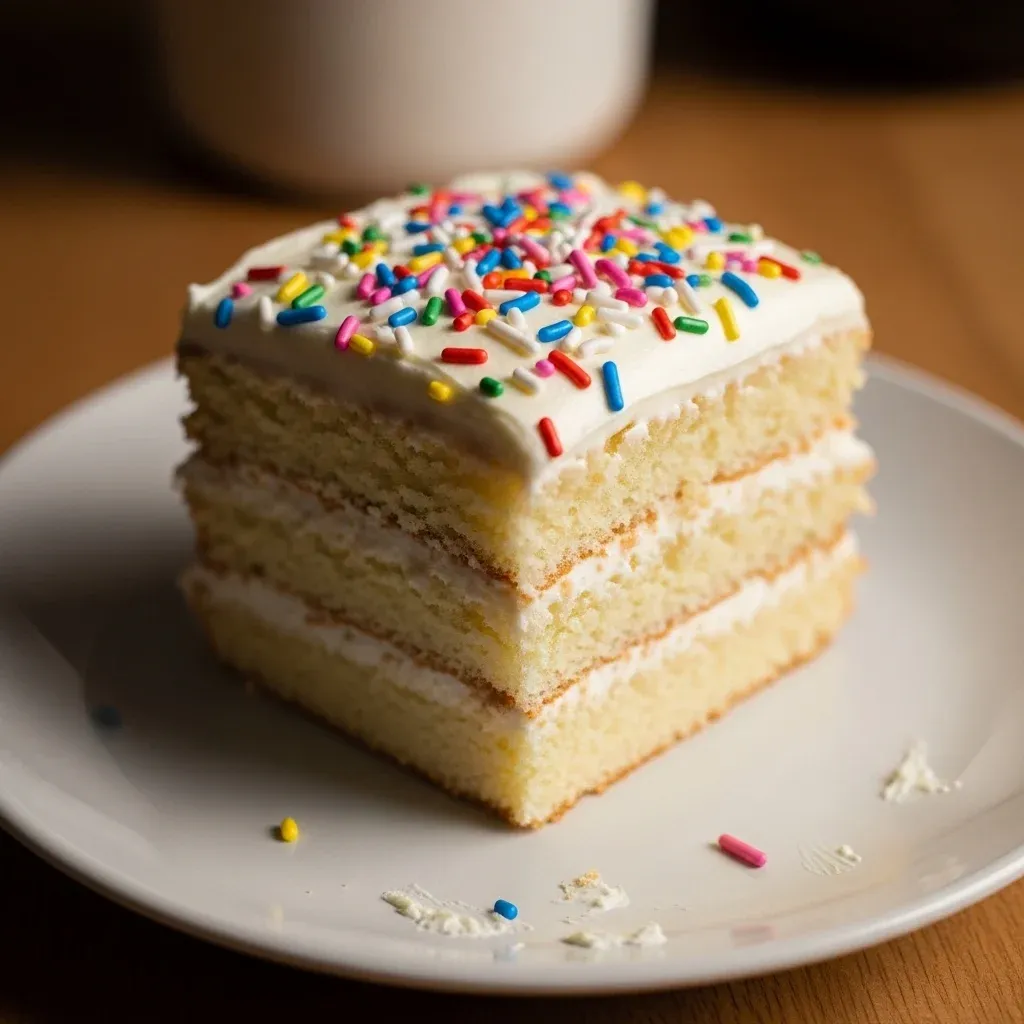
Vanilla Birthday Cake
Every time a birthday rolls around in my house, my three children gather in the kitchen with wide eyes and hungry bellies. They know that a special celebration requires a very special treat. In our home, food serves as a universal language of love.
Nothing speaks that language more clearly than a classic, moist, and tender Vanilla Birthday Cake. I remember baking my first one for my eldest son, Leo, when he turned one. The kitchen smelled like sweet butter and pure vanilla bean.
I felt so much joy watching him smudge that white frosting across his chubby cheeks. Since then, I have perfected this recipe to ensure every crumb delivers comfort and happiness. This Vanilla Birthday Cake isn’t just a dessert; it represents a tradition we hold dear.
Whether you celebrate a milestone or a simple Tuesday, this Vanilla Birthday Cake creates lasting memories. I always use simple, wholesome ingredients because I believe our families deserve the best. When you pull this Vanilla Birthday Cake out of the oven, your home will feel warmer and more inviting instantly. Consequently, your guests will likely ask for the recipe before they even finish their first slice.
Why You’ll Love This Moist Vanilla Birthday Cake
You will absolutely adore this Vanilla Birthday Cake for several reasons. First, the texture remains incredibly soft and fluffy. Many recipes result in dry sponges, but this Vanilla Birthday Cake stays moist for days.
Second, the flavor profile balances sweetness with a deep, rich vanilla essence. I use high-quality vanilla extract to ensure every bite shines. Third, this recipe offers incredible reliability.
Even if you consider yourself a novice baker, you can master this Vanilla Birthday Cake with ease. Furthermore, the cake structure supports heavy frostings and multiple layers without collapsing. You will find that this Vanilla Birthday Cake serves as the perfect canvas for any decoration.
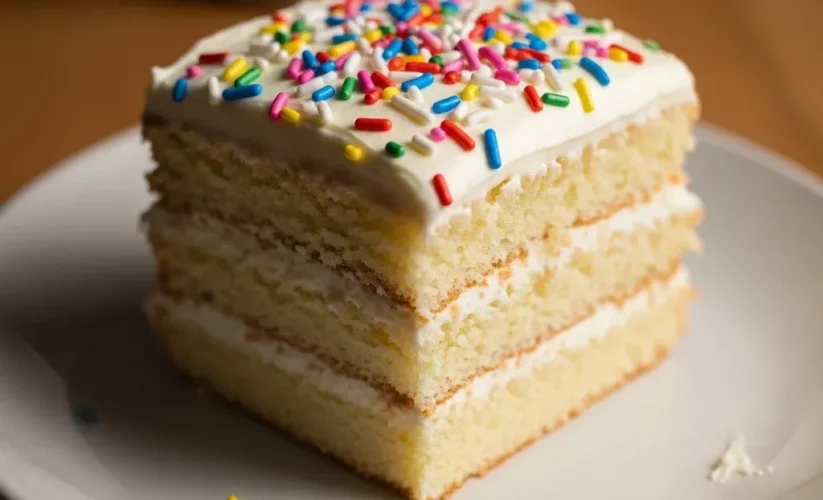
Whether you prefer sprinkles, chocolate ganache, or fresh berries, this cake complements them all. Additionally, making a Vanilla Birthday Cake from scratch allows you to control the ingredients. You avoid the artificial preservatives found in boxed mixes.
Finally, the smile on your loved one’s face when they see a homemade Vanilla Birthday Cake makes every minute of baking worthwhile. It truly is the ultimate crowd-pleaser for any American household.
Ingredients You’ll Need
Gathering high-quality ingredients marks the first step toward a successful Vanilla Birthday Cake. I recommend using organic dairy and fresh eggs whenever possible. These small choices enhance the overall flavor and nutritional value of your Vanilla Birthday Cake. Please refer to the table below for the exact measurements you need for this masterpiece.
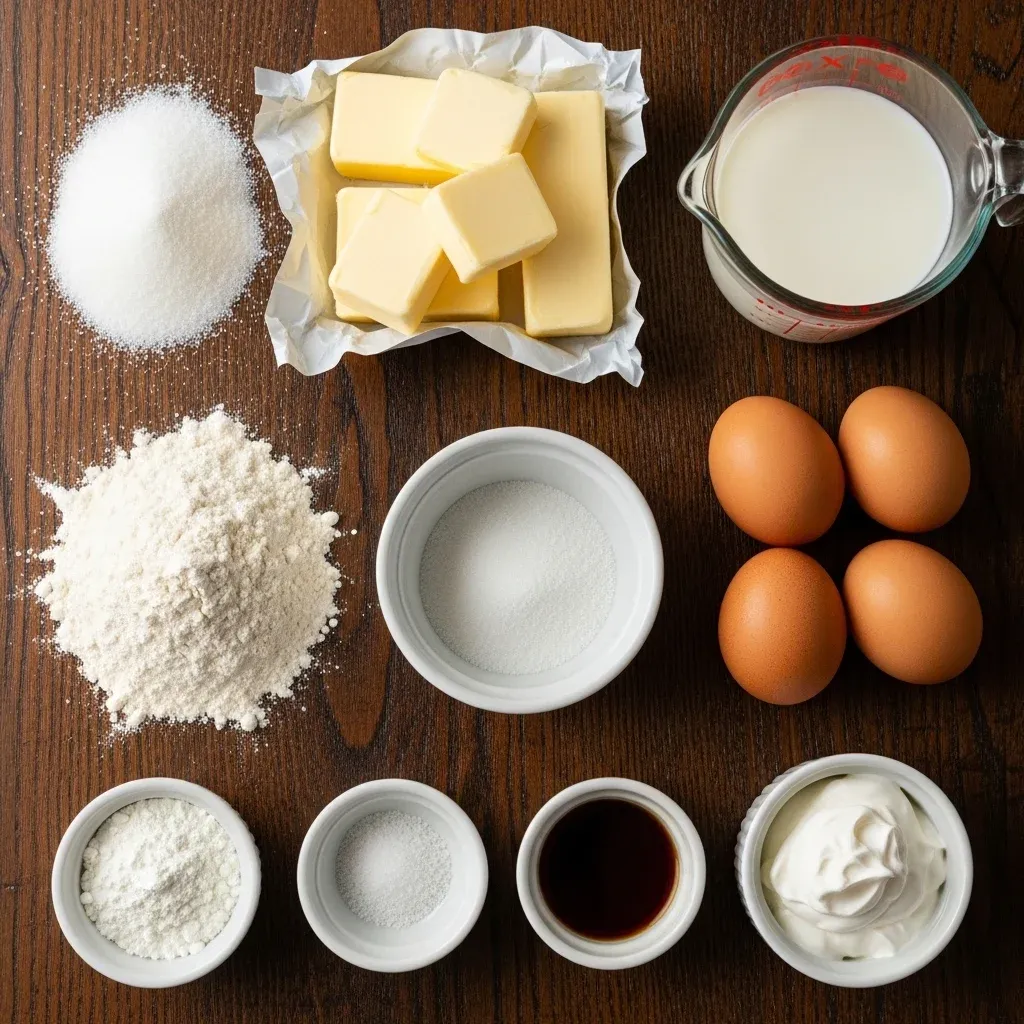
| Ingredient | Amount | Notes |
|---|---|---|
| All-Purpose Flour | 3 Cups | Sifted for a lighter crumb |
| Granulated Sugar | 2 Cups | Use organic cane sugar if desired |
| Unsalted Butter | 1 Cup | Softened to room temperature |
| Large Eggs | 4 | Room temperature |
| Whole Milk | 1.25 Cups | Full fat provides the best texture |
| Baking Powder | 1 Tablespoon | Ensures a proper lift |
| Salt | 1/2 Teaspoon | Balances the sweetness |
| Vanilla Extract | 1 Tablespoon | Use pure extract, not imitation |
| Sour Cream | 1/2 Cup | The secret to a moist cake |
Substitutions & Variations
I understand that every family has different dietary needs and preferences. You can easily adapt this Vanilla Birthday Cake to suit your lifestyle. If you need a gluten-free option, substitute the all-purpose flour with a high-quality 1:1 gluten-free baking blend.
This change preserves the integrity of the Vanilla Birthday Cake while making it safe for those with sensitivities. For a dairy-free version, use almond milk or oat milk instead of whole milk. Additionally, replace the butter with a vegan butter substitute or coconut oil.
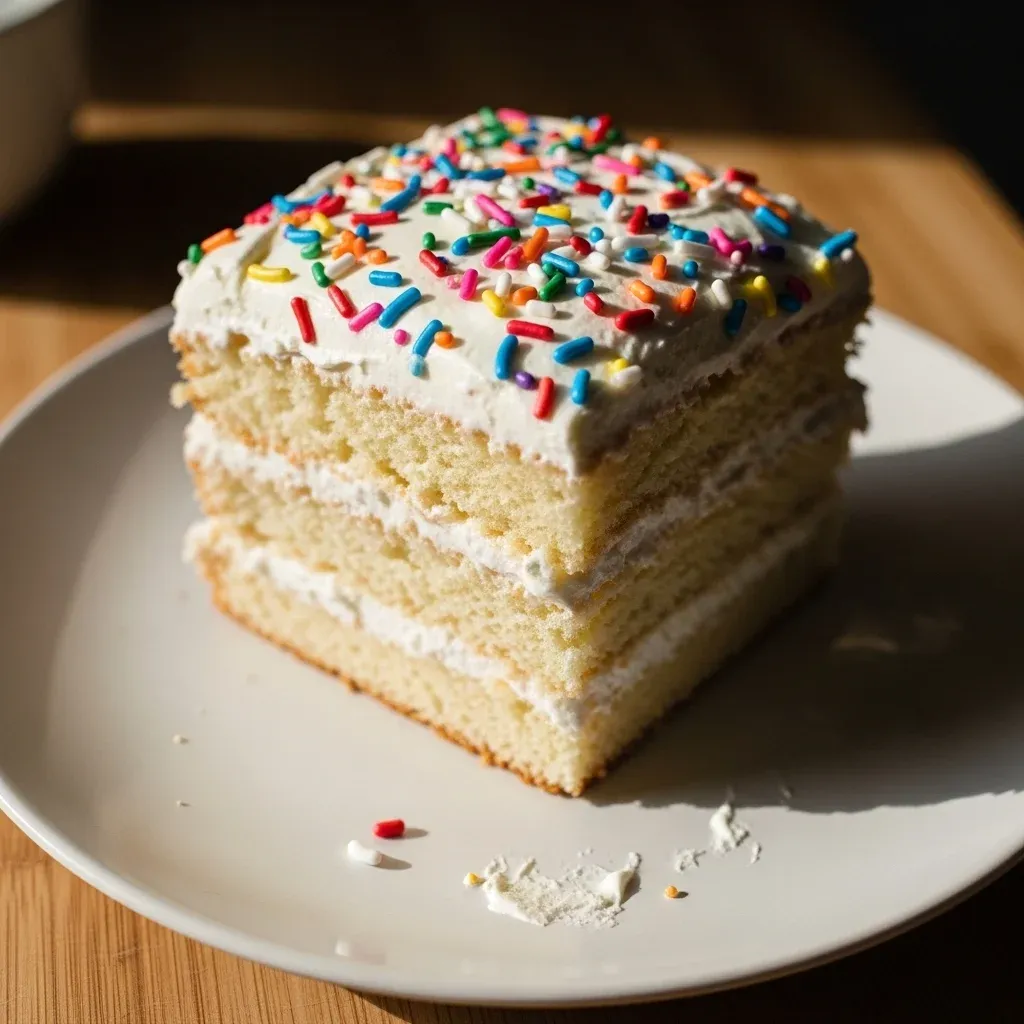
Although the flavor profile changes slightly, the Vanilla Birthday Cake remains delicious. If you want to add a fruity twist, fold in a cup of fresh blueberries or raspberries before baking. To create a “Funfetti” style Vanilla Birthday Cake, simply stir in half a cup of rainbow sprinkles.
You can also experiment with different extracts. Try adding a teaspoon of almond extract alongside the vanilla for a professional bakery taste. Furthermore, you can transform this Vanilla Birthday Cake into cupcakes by adjusting the baking time to 18-22 minutes. Regardless of the changes you make, the heart of this Vanilla Birthday Cake stays the same.
Just as we can adapt this cake for various dietary needs, considering other delightful and healthier options is always a great idea. If you’re looking for a refreshing treat that caters to health-conscious choices, try these amazing Protein Popsicles.
Step-by-Step Instructions
Following these steps carefully ensures your Vanilla Birthday Cake turns out perfectly every time. Preparation is key, so begin by organizing your workspace and preheating your oven to 350°F (175°C). Grease two 9-inch round cake pans with butter and dust them with flour. This prevents your Vanilla Birthday Cake from sticking to the bottom.
Note: This video is for demonstration purposes and may use a slightly different method.
Start by whisking the flour, baking powder, and salt together in a medium bowl. Set this dry mixture aside. In a large stand mixer bowl, cream the softened butter and granulated sugar together.
Beat them on medium-high speed for about 5 minutes. You want the mixture to look pale and fluffy. This step incorporates air into the Vanilla Birthday Cake, giving it that light texture we love.
Next, add the eggs one at a time. Ensure you beat the mixture well after each addition. Pour in the vanilla extract and the sour cream, then mix until combined.
Gradually add the dry ingredients to the wet ingredients. Alternate this with the whole milk. Start and end with the flour mixture.
Mix only until the flour disappears. Overmixing will make your Vanilla Birthday Cake tough and dense. Divide the batter evenly between your two prepared pans.
Smooth the tops with a spatula. Place the pans in the center of your oven and bake for 30 to 35 minutes. Your Vanilla Birthday Cake is ready when a toothpick inserted into the center comes out clean.
Let the cakes cool in the pans for 10 minutes before transferring them to a wire rack. Cooling the Vanilla Birthday Cake completely before frosting is essential to prevent the icing from melting.
Pro Tips for Success
Creating the perfect Vanilla Birthday Cake requires attention to detail. First, always use room temperature ingredients. Cold eggs or cold milk can cause the batter to curdle.
When the ingredients share the same temperature, they emulsify beautifully. Consequently, your Vanilla Birthday Cake will have a uniform crumb. Second, measure your flour correctly.
Instead of scooping the flour directly with the measuring cup, use a spoon to fill the cup and level it off. Too much flour leads to a dry Vanilla Birthday Cake. Third, do not peek!
Opening the oven door too often drops the temperature and might cause the cake to sink. Wait until the timer almost finishes before checking for doneness. Fourth, consider using a kitchen scale for precision.
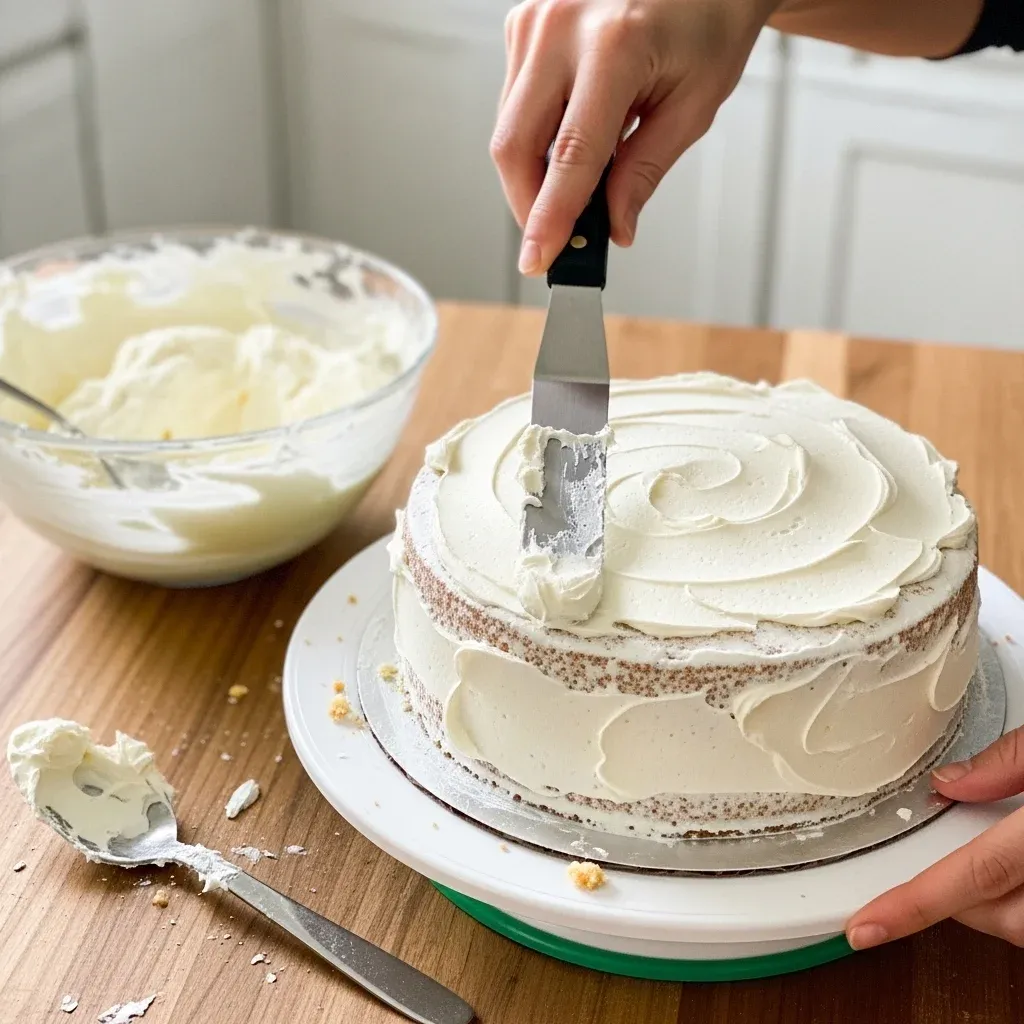
Weight-based measurements provide the most consistent results for your Vanilla Birthday Cake. Fifth, if you want a professional look, apply a “crumb coat” of frosting first. Chill the Vanilla Birthday Cake for 30 minutes, then apply the final layer of icing.
This technique keeps crumbs out of your beautiful decorations. Finally, always use fresh leavening agents. If your baking powder is old, your Vanilla Birthday Cake will not rise properly. Following these simple tips guarantees a Vanilla Birthday Cake that looks and tastes like it came from an expensive bakery.
Mastering these techniques will ensure your cake is perfect every time, just as classic recipes bring consistent joy with careful preparation. For another universally beloved treat that benefits from precise execution, you must bake our incredible Peanut Butter Cookies.
Storage & Reheating Tips
If you happen to have leftovers, you must store your Vanilla Birthday Cake properly to maintain its freshness. You can keep a frosted Vanilla Birthday Cake at room temperature under a cake dome for up to two days. However, if your frosting contains cream cheese or fresh fruit, place the cake in the refrigerator.
For longer storage, wrap individual slices of the Vanilla Birthday Cake in plastic wrap and store them in an airtight container. They will stay fresh in the fridge for up to five days. Surprisingly, this Vanilla Birthday Cake freezes exceptionally well.
Wrap the unfrosted layers tightly in plastic wrap and aluminum foil. They will last in the freezer for up to three months. When you feel ready to serve, thaw the Vanilla Birthday Cake layers in the refrigerator overnight.
If you prefer a warm treat, microwave a single slice for 10 to 15 seconds. This softens the butter and revives the fluffy texture of the Vanilla Birthday Cake. Always ensure you cover the cut sides of the cake with extra frosting or plastic wrap to prevent them from drying out.
What to Serve With This Recipe
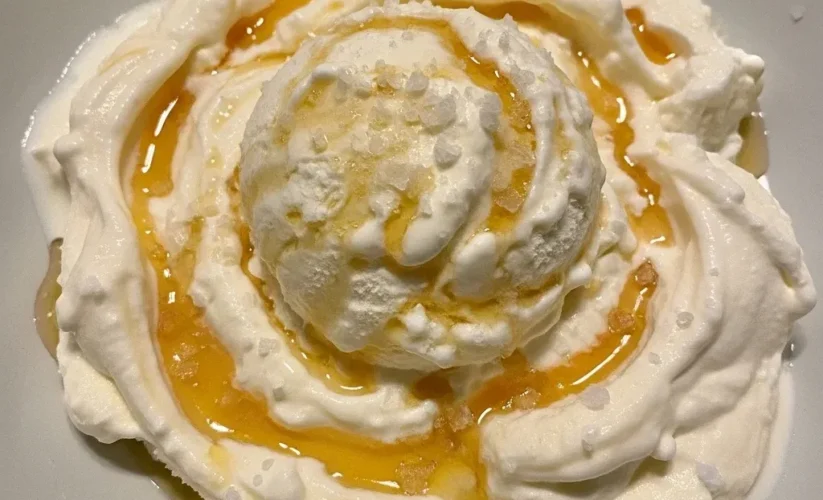
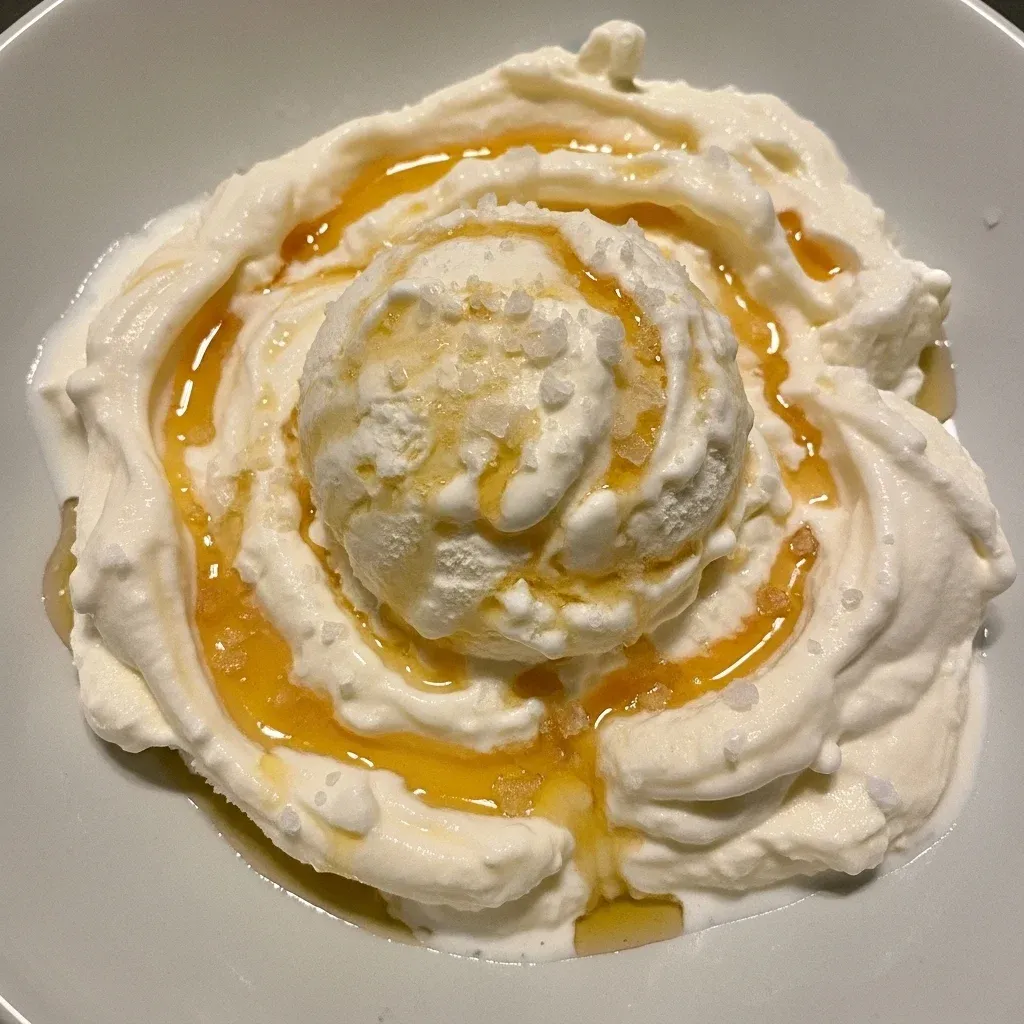
A slice of Vanilla Birthday Cake tastes wonderful on its own, but you can elevate the experience with the right accompaniments. For a classic pairing, serve your Vanilla Birthday Cake with a scoop of premium vanilla bean ice cream. The cold creaminess complements the warm, tender cake perfectly.
If you want something lighter, try a dollop of homemade whipped cream and a handful of fresh strawberries or raspberries. The tartness of the fruit cuts through the sweetness of the Vanilla Birthday Cake beautifully. For beverage pairings, a cold glass of whole milk remains the favorite choice for children.
Adults might enjoy a cup of dark roast coffee or a delicate Earl Grey tea. The bitterness of the coffee balances the sugar in the Vanilla Birthday Cake. If you are hosting a fancy party, serve the cake with a glass of chilled Prosecco or Champagne.
The bubbles provide a festive touch that matches the celebratory spirit of a Vanilla Birthday Cake. No matter what you choose, these additions will make your dessert course feel truly special.
While these accompaniments beautifully enhance a traditional dessert, there are also fantastic ways to enjoy sweet flavors in a healthier format. If you’re seeking a satisfying, protein-packed treat to enjoy anytime, consider making your own Chocolate Protein Bars.
FAQs
Can I make this Vanilla Birthday Cake in advance?
Yes, you can definitely make this Vanilla Birthday Cake ahead of time. I actually recommend baking the layers a day before you plan to frost them. Simply wrap the cooled layers in plastic wrap and keep them at room temperature.
This makes the Vanilla Birthday Cake easier to handle and frost. You can also frost the entire cake a day in advance and store it in the refrigerator. Just bring it to room temperature before serving for the best flavor.
How do I keep my Vanilla Birthday Cake from being dry?
The key to a moist Vanilla Birthday Cake lies in the sour cream and the mixing technique. Sour cream adds fat and moisture without thinning the batter. Additionally, ensure you do not overbake the cake.
Check the Vanilla Birthday Cake five minutes before the recipe suggests. Furthermore, avoid overmixing the batter once you add the flour, as this develops gluten and creates a tough texture.
What is the best frosting for a Vanilla Birthday Cake?
A classic vanilla buttercream frosting remains the most popular choice for a Vanilla Birthday Cake. It is sweet, creamy, and easy to pipe into beautiful designs. However, chocolate buttercream or a rich cream cheese frosting also taste incredible.
If you want something less sweet, consider a Swiss Meringue buttercream. It offers a silky texture that pairs elegantly with the Vanilla Birthday Cake.
Can I use this recipe for a sheet cake?
Absolutely! You can bake this Vanilla Birthday Cake batter in a 9×13-inch rectangular pan. This format works great for potlucks or school parties.
Simply adjust the baking time to approximately 35-40 minutes. A sheet-style Vanilla Birthday Cake is often easier to transport and serve to large groups of people.
Birthday cakes have long been a cherished tradition across many cultures, symbolizing celebration and good wishes for the year ahead. The practice of serving a special cake, often adorned with candles, has roots in ancient rituals and evolving customs, with the classic vanilla flavor remaining a global favorite for its comforting sweetness.
Nutrition Information (per serving)
The following nutrition facts represent one slice of the Vanilla Birthday Cake (based on 12 servings per cake). Please note that these values do not include frosting or additional toppings. While this Vanilla Birthday Cake is an indulgence, using wholesome ingredients ensures you provide the best for your family.
| Nutrient | Amount |
|---|---|
| Calories | 385 kcal |
| Total Fat | 18g |
| Saturated Fat | 11g |
| Cholesterol | 85mg |
| Sodium | 210mg |
| Total Carbohydrates | 52g |
| Dietary Fiber | 1g |
| Sugars | 34g |
| Protein | 5g |
Ultimately, this Vanilla Birthday Cake serves as more than just a recipe. It acts as a centerpiece for your most cherished celebrations. By following these steps and using high-quality ingredients, you create a Vanilla Birthday Cake that rivals any professional bakery.
I hope this Vanilla Birthday Cake brings as much joy to your kitchen as it does to mine. Happy baking!
PrintVanilla Birthday Cake

This classic Vanilla Birthday Cake is a moist, tender, and fluffy dessert, perfect for any celebration. It features a rich vanilla essence, is highly reliable for bakers of all levels, and provides a sturdy canvas for various decorations. Made with wholesome ingredients, it's a cherished family tradition designed to create lasting memories.
- Prep Time: 20 minutes
- Cook Time: 35 minutes
- Total Time: 55 minutes
- Yield: 12 servings
- Category: Dessert
- Method: Baking
- Cuisine: American
- Diet: Standard
Ingredients
3 Cups All-Purpose Flour
2 Cups Granulated Sugar
1 Cup Unsalted Butter
4 Large Eggs
1.25 Cups Whole Milk
1 Tablespoon Baking Powder
0.5 Teaspoon Salt
1 Tablespoon Vanilla Extract
0.5 Cup Sour Cream
Instructions
- Begin by organizing your workspace and preheating your oven to 350°F (175°C). Grease two 9-inch round cake pans with butter and dust them with flour to prevent sticking
- Whisk the flour, baking powder, and salt together in a medium bowl. Set this dry mixture aside
- In a large stand mixer bowl, cream the softened butter and granulated sugar together on medium-high speed for about 5 minutes, until the mixture looks pale and fluffy
- Add the eggs one at a time, ensuring you beat the mixture well after each additio
- Pour in the vanilla extract and the sour cream, then mix until just combined
- Gradually add the dry ingredients to the wet ingredients, alternating this with the whole milk. Start and end with the flour mixture, mixing only until the flour disappears to avoid overmixing
- Divide the batter evenly between your two prepared pans and smooth the tops with a spatula
- Place the pans in the center of your oven and bake for 30 to 35 minutes, or until a toothpick inserted into the center comes out clea
- Let the cakes cool in the pans for 10 minutes before carefully transferring them to a wire rack. Cool completely before frosting to prevent the icing from melting
Notes
Always use room temperature ingredients to ensure a uniform crumb and prevent curdling.
Measure flour correctly by spooning it into the measuring cup and leveling off, rather than scooping directly, to avoid a dry cake.
Avoid opening the oven door too often during baking, as this can drop the temperature and cause the cake to sink.
For precise measurements and consistent results, consider using a kitchen scale.
For a professional finish, apply a thin 'crumb coat' of frosting first, chill the cake for 30 minutes, then apply the final layer of icing.
Always use fresh leavening agents (baking powder) to ensure your cake rises properly.
To maintain freshness, store a frosted cake at room temperature under a cake dome for up to two days. If the frosting contains cream cheese or fresh fruit, refrigerate the cake.
For longer storage, wrap individual slices in plastic wrap and store in an airtight container in the fridge for up to five days.
Unfrosted cake layers can be wrapped tightly in plastic wrap and aluminum foil and frozen for up to three months. Thaw in the refrigerator overnight before frosting.
If you prefer a warm slice, microwave it for 10 to 15 seconds.
Always cover the cut sides of the cake with extra frosting or plastic wrap to prevent them from drying out.
Baking the cake layers a day in advance can make them easier to handle and frost.
The sour cream is a secret ingredient for a moist cake, adding richness without thinning the batter. Do not overbake; check for doneness five minutes before the suggested time.